You’ve just finished your third row of a beautiful, hand-knit scarf—soft, even, and glowing in the afternoon light—when suddenly, you hit the end of your yarn ball. You reach for the next one, grab a pair of scissors, tie a knot… and instantly, your heart sinks. That little bump? It’s going to be visible. It’s going to catch on things. It’s going to ruin the flow you worked so hard to create.
If you’ve ever felt that pang of disappointment after a knot ruins your project, you’re not alone. Whether you’re knitting a delicate lace shawl, crocheting a baby blanket, or weaving a tapestry, knots are the silent saboteurs of smooth, professional-looking results. But here’s the good news: you don’t have to use knots at all.
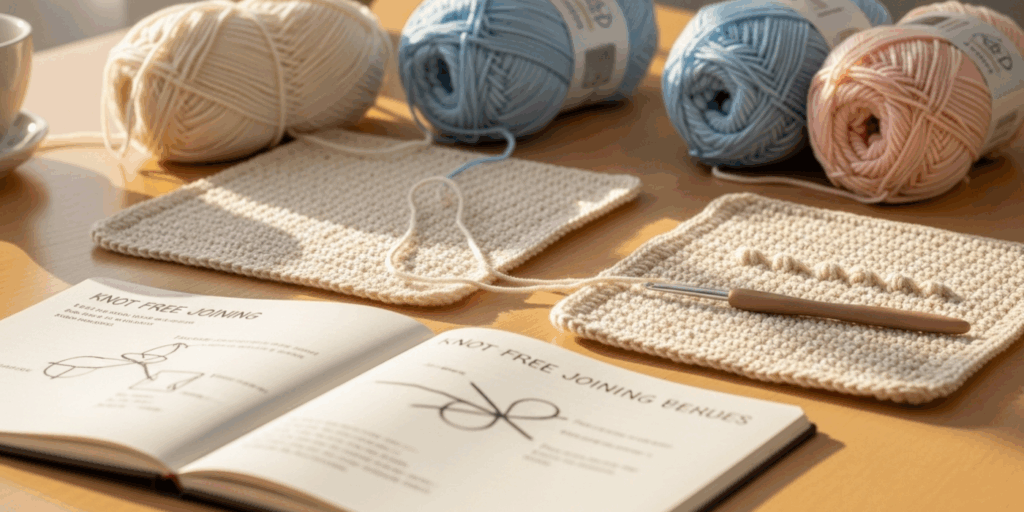
In this guide, you’ll learn how to join yarn smoothly—without knots—using simple, time-tested techniques that even beginners can master. No more lumps. No more snags. Just seamless transitions that make your handmade creations look like they were spun by magic.
We’ll walk through four powerful methods—each one better than the last—along with when to use them, how to avoid common mistakes, and why skipping knots can transform your entire crafting experience. Plus, we’ll share real-life stories from crafters who turned frustrating yarn joins into their secret weapon. By the end, you’ll not only know how to join yarn invisibly—you’ll wonder why you ever tied a knot in the first place.
Why Knots Are the Enemy of Beautiful Crafts
Let’s be honest: knots are easy. You pull the ends together, tie a simple overhand knot, snip the excess, and move on. It feels like a quick fix. But if you’ve ever run your fingers over a finished project only to feel a tiny, stubborn bump, you know how costly that “quick fix” really is.
Knots create three big problems:
- They’re visible. Even if you bury them, knots can bulge slightly under tension or after washing, especially in fine yarns like merino wool or silk blends.
- They’re weak points. A knot is a concentrated stress point. Over time—especially with wear or washing—it can loosen, unravel, or even break.
- They disrupt texture. In lace knitting, cable patterns, or colorwork, a knot can throw off your stitch count or create an uneven gap that distracts the eye.
Think of it this way: if you were painting a mural, would you patch a mistake with a blob of tape? Probably not. You’d blend, feather, and smooth it out. The same principle applies to yarn.
The good news? Modern fiber arts have evolved. Crafters today have access to techniques that were once reserved for professionals. And the best part? They’re easier than tying knots.
Pro tip: In high-end knitting and crochet patterns—especially those from designers like Debbie Bliss or Tin Can Knits—knots are almost never recommended. Why? Because they’re outdated. The industry standard is seamless joining. And you can absolutely adopt that standard, too.
Method 1: The Russian Join – The Invisible Champion
If you’re looking for the holy grail of knot-free joins, meet the Russian Join. It’s quiet, elegant, and so effective that many professional fiber artists use it exclusively.
Here’s how it works:
Instead of tying the ends together, you thread them into each other using a tapestry needle. You’ll insert the needle into the center of each yarn end (not the outside), pull a few inches of fiber through, then weave the ends back into their own strands. The result? Two strands that look like they were never separated.
Why it’s brilliant:
- No bulk. No bumps.
- Works with almost any yarn weight—from lace to bulky.
- Holds up beautifully after washing and blocking.
- Perfect for variegated or self-striping yarns where you don’t want a visible join.
How to do it step-by-step:
- Cut both yarn ends to about 6 inches.
- Thread a tapestry needle with one end.
- Insert the needle into the center of the other yarn strand, about 2 inches in. Pull through gently until you have a loop.
- Now, thread the second yarn end into the needle and insert it into the center of the first yarn strand, pulling through the same way.
- Gently tug both ends to snug the join. Trim excess if needed.
It might feel weird at first—like you’re smuggling yarn into itself—but once you try it, you’ll never go back. I remember my friend Lena, who knits sweaters for a living, telling me she used to dread changing colors in her Fair Isle patterns… until she learned the Russian Join. Now, she says, “It’s like the yarn was meant to be one piece all along.”
Bonus: This method works wonders with slippery yarns like alpaca or silk, where knots tend to slide apart.
Method 2: The Splice Join – For Natural Fibers Only (But Wow, Is It Smooth)
If you’re working with wool, alpaca, cashmere, or other animal fibers, there’s another magical trick: the spliced join. Also called the “felted join,” this technique uses moisture, friction, and a little patience to fuse two ends together—no needle, no thread, no knot.
Here’s the science behind it: Wool fibers have tiny scales on their surface. When you rub them together while damp, those scales lock into each other, creating a seamless bond. It’s nature’s version of Velcro.
How to do it:
- Unravel about 3–4 inches of each yarn end, teasing the fibers apart gently.
- Lay the two teased ends side by side, overlapping by 2 inches.
- Dampen your fingers (or lightly mist the area with water).
- Roll the overlapping section gently between your palms, like you’re rolling a tiny log. Keep rolling for 30–60 seconds.
- Let it dry for a few minutes. Then, give it a gentle tug—it should feel like one continuous strand.
This method is perfect for projects where you want zero visual interruption—think a seamless cowl, a baby blanket, or a sock heel. And because it’s felted, it won’t come undone, even after repeated washing.
A real-life win: Sarah, a knitter from Portland, used the splice join on her first hand-dyed merino shawl. She said, “I was terrified I’d ruin it. But when I finished, I couldn’t even find the join. My mom thought I’d bought it from a boutique.”
Caution: This only works with animal fibers. Cotton, acrylic, and synthetics won’t felt. So if you’re using a blend, test a small piece first.
Method 3: The Magic Knot (aka the Slip Knot That Doesn’t Stay a Knot)
Now, if you’re new to yarn joining and the Russian Join feels intimidating, here’s a gentle middle ground: the Magic Knot.
This isn’t your grandma’s knot. It’s a clever variation that looks like a knot but behaves like a seamless join.
Here’s how it works:
- Lay the two yarn ends parallel, overlapping by 4–6 inches.
- Tie a simple overhand knot—but don’t pull it tight yet.
- Instead, twist the two strands together around each other three times, creating a little spiral.
- Now, pull the knot tight. The twist hides the bulk, and the knot becomes almost invisible.
- Trim the ends to about ½ inch.
It’s not quite as invisible as the Russian Join, but it’s far better than a regular knot—and it’s perfect for beginners. I’ve used this on my own mittens and even on a gift blanket for my niece. The join is so subtle, even her mom didn’t notice it until I pointed it out.
Best for: Chunky yarns, quick projects, or when you’re in a hurry but still want to avoid bulk.
Pro tip: Always trim the ends after you’ve woven them in slightly with a needle. That way, you avoid little tails sticking out later.
Method 4: The Weave-In Join – The Ultimate “Set It and Forget It” Technique
Sometimes, the best join happens before you even run out of yarn.
Enter the Weave-In Join—a proactive method that turns your last few rows into a seamless transition.
Here’s how it works:
When you’re about 6 inches from the end of your current yarn, start knitting or crocheting with the new yarn as well—holding both strands together for 3–4 stitches. Then, drop the old yarn and continue with just the new one.
The result? A tiny, distributed transition that blends into the fabric rather than standing out. And because the ends are woven in gradually, you don’t need to weave them in later.
Why this is genius:
- No extra steps at the end.
- No bulk.
- No guesswork about where to join.
- Perfect for stripes or color changes.
I learned this from a retired weaver named Margaret, who taught me, “The best join is the one you plan for.” She’d always leave a tail when she started a new ball, just in case. Now, I do it too—especially when I’m working on something I plan to gift.
Pro tip: If you’re using a self-striping yarn, try to change yarns at the beginning of a color block. That way, the transition is hidden by the pattern itself.
And here’s a bonus: because you’re weaving in the ends as you go, you save time later. No more late-night weaving sessions with a magnifying glass!
Why Skipping Knots Changes Everything (Beyond the Look)
You might think all this is just about aesthetics. But here’s the deeper truth: learning to join yarn without knots transforms your relationship with your craft.
When you stop accepting “good enough,” you start creating with intention. You become more mindful of every stitch, every transition. You begin to see your projects not just as finished objects, but as expressions of care.
I’ve watched students go from frustrated and rushed to calm and confident once they mastered these techniques. One woman told me, “I used to hate changing yarn. Now, I look forward to it. It’s like a little ritual—my moment to slow down.”
And let’s not forget the practical benefits:
- Longer-lasting projects (no weak knots to break).
- Better resale value (handmade items with seamless joins are prized).
- Greater joy (no more hiding flaws or feeling embarrassed to show your work).
Think about it: when you gift a handmade item, you’re giving more than wool and time. You’re giving care. And a knot-free join? That’s the quiet signature of someone who truly poured their heart into it.
Common Mistakes to Avoid (And How to Fix Them)
Even the best techniques can go wrong if you rush. Here are the top three mistakes—and how to sidestep them:
- Cutting the yarn too short.
→ Fix: Always leave at least 6 inches. You can trim later, but you can’t add more. - Pulling too tight.
→ Fix: Gently snug the join—not like you’re tying a shoelace, but like you’re tucking a feather into place. - Ignoring the yarn type.
→ Fix: Use the Russian Join for synthetics, the Splice for wool, and the Weave-In for colorwork. Match the method to the material.
And one more thing: practice on scrap yarn first. Try each method on a swatch before using it on your main project. It takes 5 minutes—and it saves hours of heartache.
Final Thoughts: Your Hands Know More Than You Think
There’s a quiet magic in making things with your hands. Every loop, every stitch, every join is a whisper of patience, of presence.
When you choose to join yarn without knots, you’re not just improving a technique—you’re choosing to honor your work. You’re saying, “This matters. I matter.”
So next time you reach the end of your yarn, don’t grab the scissors right away. Pause. Breathe. Ask yourself: How can I make this seamless?
Try the Russian Join. Try the Splice. Try the Weave-In. See which one feels right for you.
And if you’re still unsure? Start small. Pick a scarf. Pick a dishcloth. Practice one method. Then, watch how your hands remember what your mind didn’t know it needed to learn.
Because the most beautiful things aren’t made with perfect tools.
They’re made with patient hands.
Your Turn:
Have you tried any of these knot-free joins? Which one’s your favorite? Did you have a “aha!” moment when you realized your knots were ruining your projects?
I’d love to hear your story. Drop a comment below—share your biggest yarn join win, your biggest fail, or even a photo of your latest seamless masterpiece. Let’s build a community of crafters who refuse to settle for anything less than beautiful.
And if this guide helped you, please share it with a friend who’s still tying knots. Because no one should have to hide their work.
Happy crafting—and may your joins be invisible, your yarns be soft, and your projects be loved. 🧶✨

Gabriela Ferreira is a passionate crochet and knitting enthusiast who finds inspiration in every skein of yarn she touches. With a love for color, texture, and handmade detail, she brings creativity and warmth to each project she creates. Gabriela believes that every stitch tells a story, and she enjoys sharing her craft with others who appreciate the beauty of fiber arts.


