Imagine holding a tiny, colorful square of crochet in your hands—soft, warm, and made entirely by you. Now picture turning just ten of those squares into a cozy blanket, a stylish tote bag, or even a set of placemats for your dinner table. Sounds magical? It is. And the best part? You don’t need to be an expert to make it happen.
Welcome to the wonderful world of the granny square—a classic crochet motif that’s as timeless as it is empowering. Whether you’re picking up a hook for the very first time or just looking to rediscover the joy of handmade crafts, the granny square is your perfect starting point. In this guide, we’ll walk you through everything you need to know—from the basic stitches to assembling your first project—step by step, with zero overwhelm.
No confusing jargon. No intimidating patterns. Just clear, friendly instructions, real-life tips, and plenty of encouragement. By the end of this article, you’ll not only know how to crochet your very first granny square—you’ll be excited to make dozens. And who knows? You might just fall in love with crochet all over again.
Why the Granny Square Is the Perfect First Project
If you’ve ever felt intimidated by crochet patterns, you’re not alone. Many beginners start with complex afghans or intricate lacework and quickly feel discouraged. But here’s the secret: the granny square was literally designed for beginners.
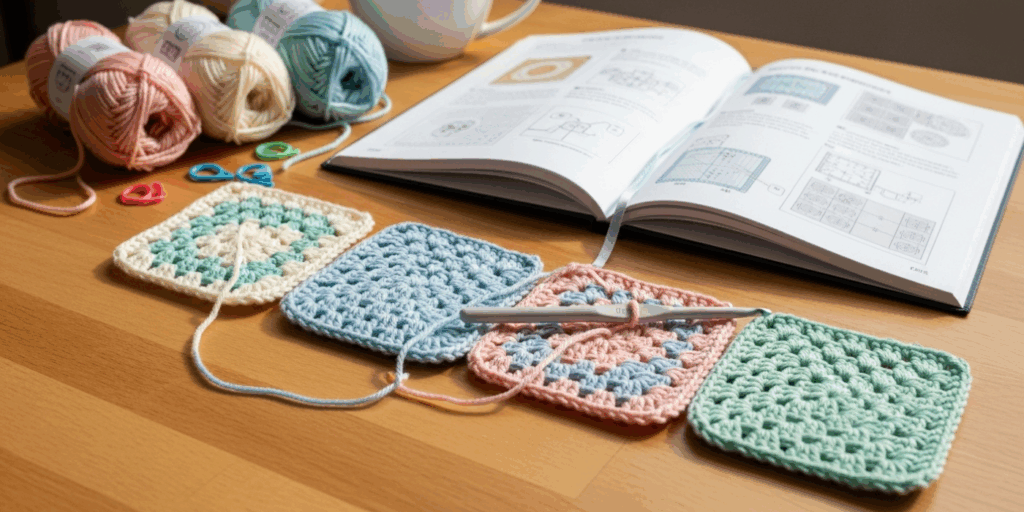
This little square—often made with just three basic stitches (chain, single crochet, and double crochet)—is the ultimate building block. It’s repetitive, forgiving, and incredibly satisfying. Each round you complete gives you instant visual feedback: “Look! I made that!” That sense of progress is huge for new crafters.
Plus, granny squares are portable. Tuck your hook and yarn into a small bag, and you can work on one while waiting at the doctor’s office, riding the bus, or watching your favorite show. Unlike large projects that require constant attention to shaping or increases, a granny square lets you focus on rhythm, not rules.
And let’s not forget the community. Granny squares have been stitched by generations—grandmas, moms, and even teens on TikTok. There’s a reason they’ve survived for over 150 years: they’re simple, social, and deeply personal. When you make one, you’re joining a global tradition of quiet creativity.
Best of all? You can’t really “mess up” a granny square. If you miss a stitch or add an extra one? No problem. It’ll still look charming. In fact, handmade imperfections are part of the magic. So breathe easy, grab your hook, and let’s begin.
The Three Stitches You Need to Know (No, Really—Just Three!)
Before we dive into the pattern, let’s get comfortable with the only three stitches you’ll use for this guide. Don’t worry—they’re easier than you think.
1. The Chain Stitch (ch)
Think of this as your “starting line.” You make it by wrapping the yarn over your hook and pulling it through the loop already on the hook. It’s the foundation for every crochet project. Practice making a chain of 10 stitches. It should look like a little rope of loops. Easy, right?
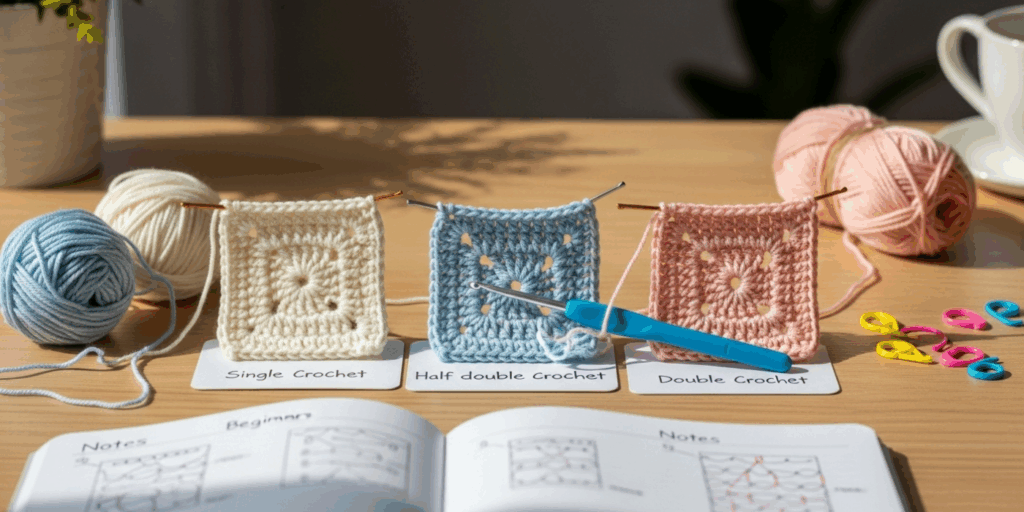
2. The Single Crochet (sc)
This is your tightest, most stable stitch. Insert your hook into a stitch, yarn over, pull up a loop (now you have two loops on your hook), yarn over again, and pull through both loops. Done. It’s like giving your yarn a little hug.
3. The Double Crochet (dc)
This is the star of the granny square. It’s taller and creates that lovely open texture. Yarn over, insert your hook into the stitch, yarn over again, pull up a loop (three loops on hook now), yarn over, pull through two loops, then yarn over and pull through the last two. That’s it!
You don’t need to memorize all this at once. Print this section out, keep it beside you, or even record a quick video of yourself doing each stitch. Repetition is your friend here. Try making a small chain, then adding five double crochets into the fourth chain from your hook. That’s the very first cluster you’ll use in your granny square.
Pro tip: Use a medium-weight yarn (Category 4) and a 5mm (H) hook. It’s easier to see your stitches and less likely to tangle than super thin or super bulky yarn.
Step-by-Step: How to Crochet Your First Granny Square
Now, let’s build your very first granny square. Don’t rush. Take your time. This isn’t a race—it’s a ritual.
Round 1: The Magic Ring
Start by making a magic ring (or if you’re new, chain 4 and slip stitch into the first chain to form a circle). Then, chain 3 (this counts as your first double crochet). Do 2 more double crochets into the center of the ring. That’s 3 dc total.
Now, chain 2. This creates your first “corner space.”
Do 3 more double crochets into the center.
Chain 2 again.
Repeat this sequence two more times: 3 dc, ch 2, 3 dc.
After the fourth corner, slip stitch into the top of your starting chain 3 to close the round.
You now have a little 4-pointed star! That’s your base.
Round 2: Adding the First Layer
Chain 3 (again, counts as a dc).
In the same space, make 2 more dc.
Chain 2.
Now, into the next chain-2 space from Round 1, do 3 dc, chain 2, 3 dc.
Repeat that pattern three more times (one for each corner).
When you finish the last corner, slip stitch into the top of your starting chain.
Look at that! You’ve doubled the size of your square. It’s starting to look like… well, a square!
Round 3 and Beyond: Keep Going!
You can keep adding rounds as long as you want. For each new round, you’ll follow the same pattern:
- In each corner space (the ch-2 spaces), do 3 dc, ch 2, 3 dc.
- Between corners, work 1 dc into each dc from the previous round.
- Slip stitch to close.
Most beginners stop at 3 or 4 rounds for a coaster or potholder. Want a blanket? Go for 8–12 rounds. There’s no “right” size—only your size.
Visual Tip: After each round, lay your square flat. If it curls, you might have too many or too few stitches. Count your corners: you should always have four. If you’re off, don’t panic. Just unravel and try again. You’re learning.
Turning Squares Into Something Real: Simple Projects for Beginners
You’ve made one granny square. Congratulations! But now what?
Here’s the beautiful truth: one square is just the beginning. Once you make a few, you’ll start seeing possibilities everywhere.
Project 1: Coasters (4 squares)
Sew four squares together in a 2×2 grid. Add a simple single crochet border around the edge. Done in an afternoon. Perfect for your coffee table—or as gifts for your favorite tea lovers.
Project 2: Pillow Cover (9 squares)
Arrange nine squares in a 3×3 grid. Sew them together, then add a zipper or envelope back. Voilà—a custom pillow that screams “handmade with love.” Bonus: you can wash it easily!
Project 3: Tote Bag (16–25 squares)
Make a grid of squares, leaving the top open. Sew them into a rectangle, add handles made from chains or strips of fabric, and you’ve got a bag that turns heads. I once made one from leftover yarn and carried it to the farmers market for months. Everyone asked where I bought it.
Project 4: Blanket (49+ squares)
This is the dream project. Sew 7 rows of 7 squares each. You can mix colors, make a rainbow, or stick to neutrals. The best part? You can work on one square while watching TV, another while on a phone call, and another while waiting for your kid’s soccer practice. It’s like a puzzle you’re slowly putting together—with love.
And here’s the secret most crafters don’t tell you: you don’t need to plan it all out. Start with one square. Then make another. Then another. Before you know it, you’ve got a pile. And that pile? It becomes something beautiful.
Color, Pattern, and Personalization: Make It Yours
Granny squares are endlessly customizable. And that’s where the real fun begins.
Want to make a rainbow blanket? Use a new color every round.
Prefer a monochrome look? Stick with one hue and add texture with stitch variations.
Love surprises? Use leftover yarn from old projects. I once made a square from a sock yarn I’d forgotten I had—and it turned out gorgeous.
Color theory doesn’t need to be complicated. Try this easy trick: pick one main color, then choose two others that are next to it on the color wheel (like blue, teal, and purple). They’ll always look good together.
Or go bold: neon pink, electric yellow, and lime green? Yes, please. Your blanket, your rules.
And don’t forget texture! Try alternating between regular double crochets and popcorn stitches in one round. Or add a picot edge (tiny loops) for a lacy finish. These little touches make your work uniquely yours.
One of my favorite stories? A woman in Ohio made a granny square blanket for her husband after he lost his job. She used only yarn scraps from her mother’s old projects—each square a memory. When he opened it, he cried. “It feels like you wrapped me in all the love we’ve ever shared,” he told her.
Your squares can carry stories too.
Common Mistakes (and How to Fix Them Without Frustration)
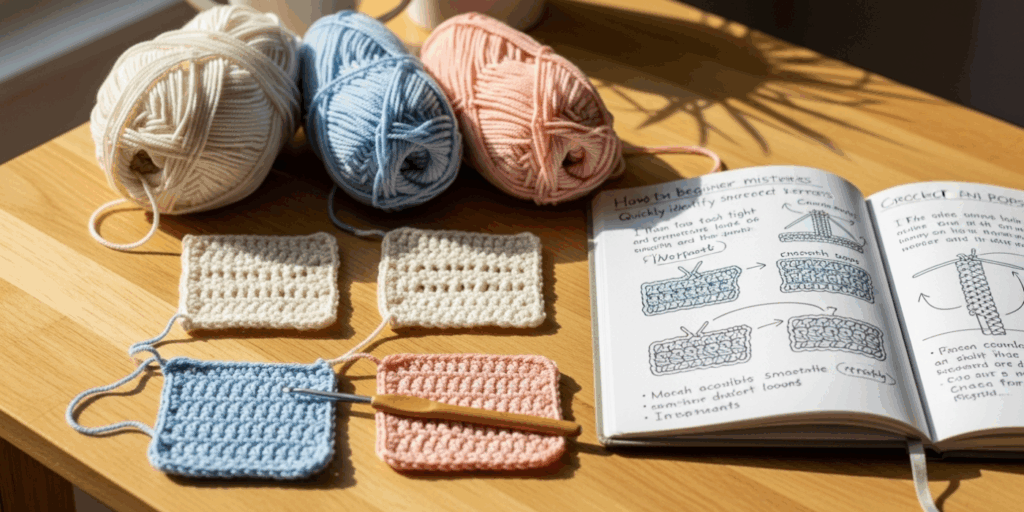
Let’s be real: you’ll make mistakes. And that’s okay. In fact, it’s part of the process.
Here are the top three beginner blunders—and how to fix them gently:
1. My square is curling!
This usually happens when you’re pulling your stitches too tight. Try relaxing your grip. Or, if it’s already curled, block it: lay it flat on a towel, pin it into shape, lightly mist with water, and let it dry overnight. It’ll flatten right out.
2. I lost count of my stitches.
Use stitch markers! A small safety pin or a piece of contrasting yarn tied in a loop can mark the beginning of each round. Set it after your chain-3, and move it up each round. Game-changer.
3. My corners look uneven.
Double-check that you’re putting three double crochets, chain 2, then three more double crochets in each corner space. If you skip a stitch or add an extra one, your square will twist. Count as you go. Say it out loud: “One, two, three… ch-two… one, two, three.” It helps your hands remember.
And if you’re still stuck? Take a break. Walk away. Come back tomorrow. Crochet isn’t a test—it’s a gift you give yourself.
Why This Craft Will Change the Way You See Time
In a world that moves too fast, crochet offers something rare: presence.
When you’re working on a granny square, you’re not scrolling. You’re not multitasking. You’re just you, your hook, and your yarn. It’s meditation with purpose.
Studies show that repetitive handcrafts like crochet reduce stress, lower heart rate, and even help with anxiety and depression. The rhythm of the hook, the texture of the yarn, the quiet focus—it’s therapeutic in a way screens never can be.
And here’s the quiet miracle: you’re not just making a blanket. You’re making patience. You’re making resilience. You’re making the kind of calm that lasts long after the project is done.
I once met a retired teacher who started crocheting granny squares after her husband passed away. “I didn’t know how to grieve,” she told me. “But every time I made a square, I felt like I was talking to him. I’d think of our garden, our trips, our silly jokes. And somehow, that helped me breathe again.”
You don’t have to be going through something hard to find meaning in this. Sometimes, the quietest acts—like making a square with your hands—are the ones that heal us the most.
Your Next Step: Start Today (No Perfection Required)
You don’t need fancy tools. You don’t need a class. You don’t need to wait for “the right time.”
All you need is a hook, some yarn, and ten minutes.
Grab your materials right now. Make that first chain. Do those first three double crochets. Close the ring. You’ve already begun.
And when you finish your first square? Take a photo. Post it online. Tag someone who inspires you. Celebrate it. You did something beautiful with your own two hands.
And then? Make another.
And another.
Before you know it, you won’t just be a beginner. You’ll be a maker. A creator. Someone who turns simple loops into warmth, into color, into joy.
The granny square isn’t just a pattern. It’s a promise—that you can start small, and still create something extraordinary.
Final Thought: What Will Your First Square Say?
Every granny square has a story. Yours might be about healing. Or curiosity. Or simply the quiet joy of doing something with your hands in a digital world.
So ask yourself:
What do I want this first square to mean to me?
Maybe it’s a reminder to slow down.
Maybe it’s proof that you can learn something new—even at 40, 60, or 80.
Maybe it’s just a little patch of color in a gray day.
Whatever it is—it’s yours.
And I can’t wait to hear about it.
Have you made your first granny square yet? Share your experience—or your first photo—in the comments below. Let’s celebrate each other’s tiny victories. And if this guide helped you, please share it with someone who’s been wanting to try crochet… but didn’t know where to start.
Because sometimes, the most beautiful things begin with a single loop.
Happy crocheting. 💛

Gabriela Ferreira is a passionate crochet and knitting enthusiast who finds inspiration in every skein of yarn she touches. With a love for color, texture, and handmade detail, she brings creativity and warmth to each project she creates. Gabriela believes that every stitch tells a story, and she enjoys sharing her craft with others who appreciate the beauty of fiber arts.


