Introduction
Have you ever picked up a crochet pattern only to feel like you’re reading a secret code? You’re not alone. Crochet—while incredibly rewarding—comes with its own language of abbreviations, symbols, and shorthand that can leave even the most eager beginner feeling lost before they’ve made their first stitch. But here’s the good news: once you crack the code, those mysterious letters and symbols become your best friends, guiding you through beautiful projects with confidence.
In this guide, we’ll walk you through the most common crochet abbreviations and chart symbols you’ll encounter in patterns. You’ll learn what they mean, why they’re used, and how to use them to follow any pattern like a pro. Whether you’re making your first scarf or diving into your first amigurumi, understanding this universal “crochet language” is the key to unlocking endless creativity. So grab your hook, fluff up your yarn, and let’s demystify the shorthand that makes crochet both efficient and fun!
Why Crochet Uses Abbreviations (And Why That’s a Good Thing)
If you’ve ever tried to follow a written recipe, you know how handy shorthand can be—think “tbsp” instead of “tablespoon” or “min” instead of “minutes.” Crochet patterns work the same way. Without abbreviations, a simple row like “single crochet in each stitch across” would become a wordy, repetitive sentence that’s harder to follow and takes up more space.
Abbreviations make patterns shorter, clearer, and easier to scan while you’re in the middle of a project. They also create a kind of universal language: a “sc” in a U.S. pattern means the same thing as a “sc” in a pattern from Australia or Germany (though be careful—U.S. and U.K. terms do differ, which we’ll cover later!).
For example, imagine this row written out fully:
“Make one single crochet stitch into the next stitch. Then make another single crochet stitch into the following stitch. Continue making single crochet stitches in every stitch until you reach the end of the row.”
Now compare that to the abbreviated version:
“Sc in each st across.”
See the difference? The second version is clean, quick to read, and leaves your brain free to focus on your tension, stitch count, and rhythm—instead of decoding sentences.
Pro tip: Keep a printed cheat sheet of common abbreviations near your workspace while you’re learning. Many craft stores and websites (including ours!) offer free downloadable versions you can tape to your project bag or pin to your bulletin board.
Common Crochet Abbreviations Every Beginner Should Know
Let’s break down the most essential crochet abbreviations you’ll see in beginner-friendly patterns. These are based on U.S. crochet terminology, which is the standard in most American and Canadian patterns.
- ch – chain
- sc – single crochet
- hdc – half double crochet
- dc – double crochet
- tr – treble (or triple) crochet
- sl st – slip stitch
- st(s) – stitch(es)
- rep – repeat
- rnd(s) – round(s)
- yo – yarn over
- sp(s) – space(s)
- sk – skip
- tog – together (as in “sc2tog” = single crochet 2 stitches together, a common decrease)
- inc – increase
- dec – decrease
- RS – right side
- WS – wrong side
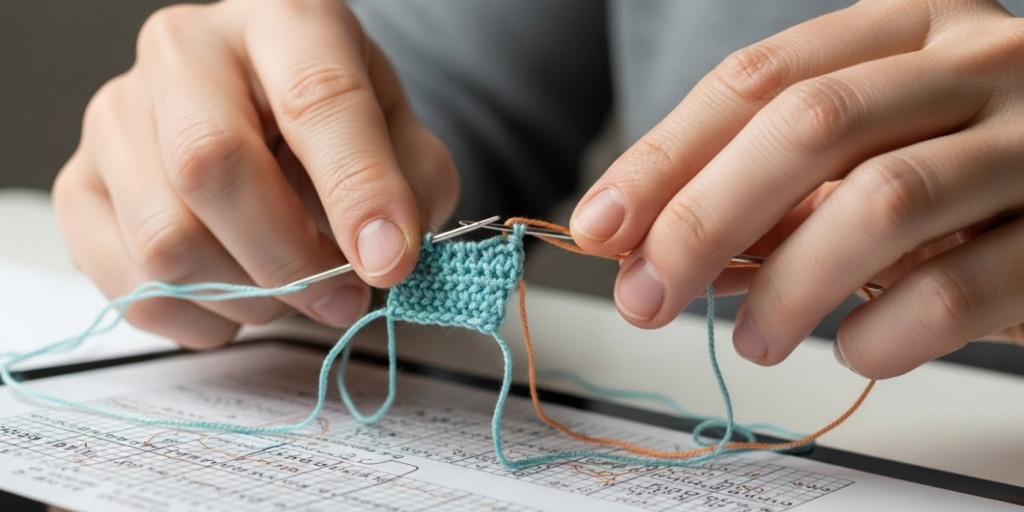
Now, let’s put these into context. Imagine you see this instruction:
“Ch 15. Sc in 2nd ch from hook and in each ch across. Turn.”
Here’s how to decode it:
- Make a foundation chain of 15 stitches.
- Skip the first chain (closest to your hook).
- Work a single crochet into the second chain from the hook.
- Continue making one sc in every chain until you reach the end.
- Turn your work to start the next row.
See how abbreviations make this efficient? Once you recognize the pattern of language, you’ll start “reading” crochet like a fluent speaker.
Note: Always check the pattern’s abbreviation key! While most abbreviations are standardized (thanks to the Craft Yarn Council), designers sometimes use custom shorthand for unique techniques.
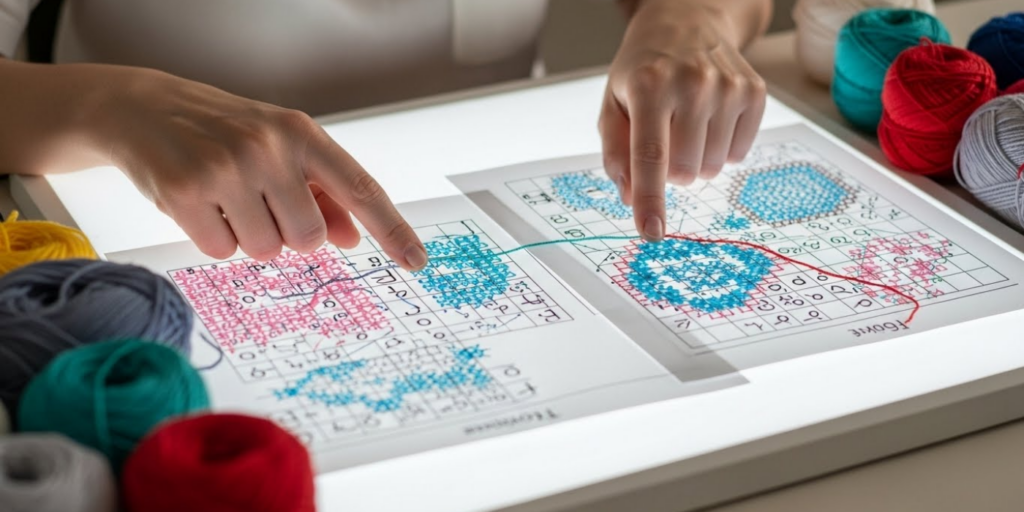
Understanding Crochet Charts and Symbols
Beyond written abbreviations, many patterns—especially those from Europe or advanced designers—use symbol charts. These are visual diagrams where each stitch is represented by a specific symbol. Think of them like musical notation for yarn: once you learn the symbols, you can “play” the pattern just by glancing at the chart.
Common crochet symbols include:
- “O” or open circle – chain stitch
- “T” with a horizontal line – single crochet
- “T” with two horizontal lines – double crochet
- Filled-in circle – slip stitch
- Arrow or bracket – repeat section
Charts are especially helpful for colorwork, lace, or amigurumi, where tracking stitch placement is critical. They also transcend language barriers—perfect if you’re using a pattern translated from another country.
How to read a chart:
- Rows are usually read right to left on the right side (RS) and left to right on the wrong side (WS).
- For rounds, you’ll read counter-clockwise from the center outward.
- Symbols are often connected by lines to show how stitches are worked into each other.
Don’t worry if charts feel overwhelming at first. Start with a simple square motif or granny square chart. Print it out, grab some scrap yarn, and practice following just a few rows. You’ll be surprised how intuitive it becomes!
U.S. vs. U.K. Crochet Terms—Don’t Get Hooked by the Differences!
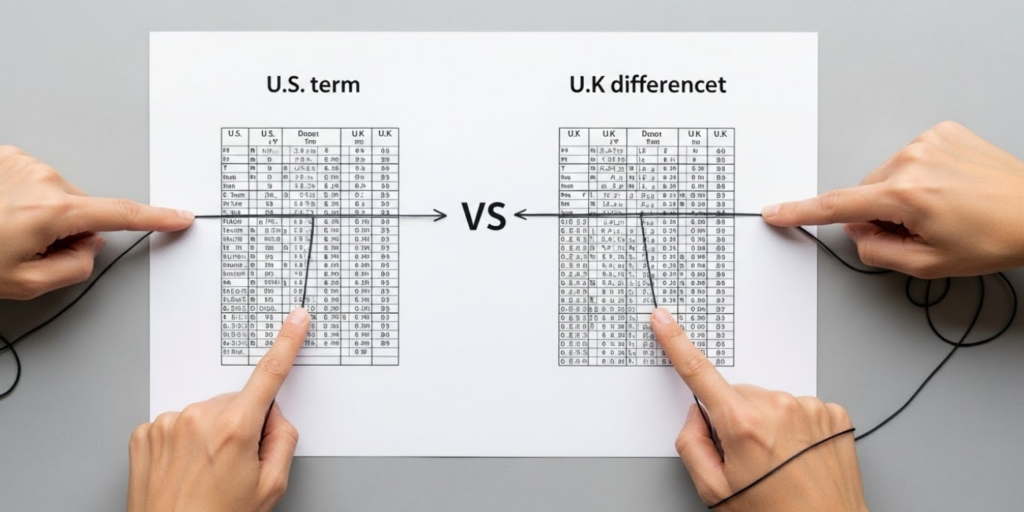
Here’s a common pitfall: U.S. and U.K. crochet terms use the same abbreviations but refer to different stitches. This has tripped up countless beginners (and even seasoned crocheters!).
For instance:
- U.S. single crochet (sc) = U.K. double crochet (dc)
- U.S. double crochet (dc) = U.K. treble crochet (tr)
Why does this happen? It comes down to how the stitches are counted. U.S. terms are based on the number of yarn overs before pulling through, while U.K. terms align with knitting terminology.
How to avoid confusion:
- Check the pattern’s origin. If it’s from a .co.uk website or mentions “U.K. terms,” proceed with caution.
- Look for a stitch gauge. U.S. sc produces a shorter, denser fabric than U.K. dc—so your swatch will look different if you mix them up.
- Use a conversion chart (many are available online). Keep one bookmarked or printed!
Thankfully, most modern patterns—especially on platforms like Ravelry or Etsy—clearly state whether they use U.S. or U.K. terms right at the top. When in doubt, compare the first few rows to a known U.S. pattern. If your fabric looks looser or taller than expected, you might be using the wrong terminology!
Practical Tips for Mastering Abbreviations and Symbols
Now that you know the basics, here are real-world strategies to build your confidence:
- Start with simple patterns. Choose beginner projects that use only 2–3 abbreviations (like scarves or dishcloths). Repetition builds fluency.
- Say the abbreviations out loud as you work. “Sc in next st… ch 1… sk next st…” This reinforces memory through auditory learning.
- Highlight or circle repeats in your printed pattern. If a section says “(sc, ch 1, sk 1) rep to end,” mark it with a colored pencil so your eyes don’t skip ahead.
- Use stitch markers to track symbol-based repeats in charts. Place a marker every 10 stitches so you can count visually instead of guessing.
- Join a crochet community. Online groups (like Reddit’s r/crochet or Facebook groups) are full of people happy to help decode tricky patterns.
And remember: mistakes are part of learning. If you accidentally dc instead of sc, don’t rip it all out immediately. Ask yourself: Does it affect the shape? The fit? Sometimes, happy accidents lead to new design ideas!
Why This “Language” Opens Doors to Creativity
Understanding crochet abbreviations and symbols isn’t just about following instructions—it’s about freedom. Once you’re fluent, you can:
- Customize patterns (swap hdc for dc to change drape)
- Design your own projects using standard notation
- Follow international designers without language barriers
- Teach others using clear, consistent terms
Think of abbreviations as the alphabet of your crafting journey. With just a few “letters,” you can write sweaters, blankets, toys, and more. And the best part? This language is alive and growing. New abbreviations emerge for innovative stitches (like the “waistcoat stitch” or “bobble clusters”), keeping the craft dynamic and fresh.
More than that, mastering this shorthand builds confidence. You’ll walk into yarn shops, scroll through pattern marketplaces, or join crochet-alongs (CALs) without hesitation. That little “ch-3 sp” on a lace shawl pattern? You’ll know exactly what to do.
Conclusion
Crochet abbreviations and symbols might seem like a hurdle at first, but they’re actually your secret weapon. They save time, reduce clutter, and connect you to a global community of makers. From the humble “sc” to intricate symbol charts, this language empowers you to create with precision and joy.
As you continue your crochet journey, keep this in mind: every expert was once a beginner staring at a confusing pattern. What matters isn’t how fast you learn—but that you keep going, stitch by stitch. So next time you see “(dc, ch 2, dc) in next ch-2 sp,” smile. You’ve got this.
Now, we’d love to hear from you! What was the first abbreviation that tripped you up? Or do you have a favorite pattern that helped you master the lingo? Share your story in the comments below—your tip might be the lightbulb moment another beginner needs. And if you found this guide helpful, why not share it with a fellow crocheter? Happy hooking!

Gabriela Ferreira is a passionate crochet and knitting enthusiast who finds inspiration in every skein of yarn she touches. With a love for color, texture, and handmade detail, she brings creativity and warmth to each project she creates. Gabriela believes that every stitch tells a story, and she enjoys sharing her craft with others who appreciate the beauty of fiber arts.


