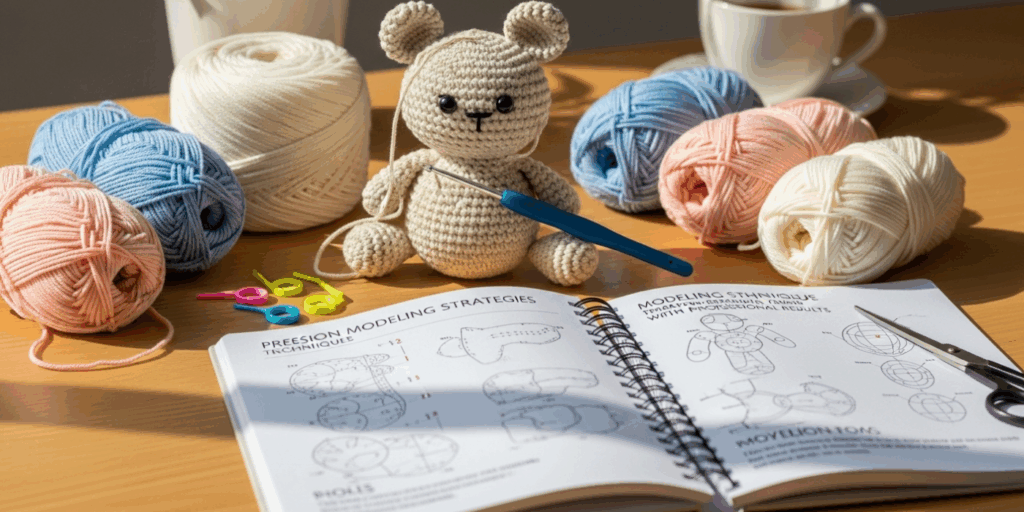
You’ve crocheted your first tiny bear. It’s adorable—maybe a little lopsided, maybe with ears that droop like tired puppies—but you made it. And that’s amazing.
But now… you want to make something that looks like it stepped right out of a high-end toy store. Something with smooth curves, perfectly rounded heads, limbs that don’t look like sausages, and a shape that feels alive. That’s the magic of amigurumi shaping—and it’s not about using fancy yarn or expensive hooks. It’s about understanding how stitches behave, how increases and decreases sculpt form, and how to guide your creation into something truly professional.
In this guide, we’ll unlock the secrets behind pro-level amigurumi shaping. No more guesswork. No more lumpy bunnies or wobbly owls. Whether you’ve been crafting for months or just discovered the joy of tiny stuffed animals, these techniques will transform your work from “cute” to captivating. We’ll break down the science behind shaping, explore the most powerful stitch patterns, reveal how to avoid common mistakes, and even show you how to design your own shapes with confidence. By the end, you won’t just follow patterns—you’ll understand them.
Let’s begin.
Why Shaping Matters More Than You Think
Let’s be honest: most beginner amigurumi patterns give you a simple formula—“increase in every stitch for 6 rounds, then work even.” And sure, that makes a ball. But a real head? A real snout? A real paw with delicate fingers? That takes intention.
Think of shaping like sculpting with yarn. A marble statue doesn’t appear by accident—it’s carved with precision, one chip at a time. The same goes for amigurumi. The difference between a charming handmade toy and a museum-worthy piece isn’t the yarn. It’s the structure beneath the surface.
Consider this: two people follow the same pattern for a cat. One ends up with a blobby creature that looks like it rolled out of a dryer. The other? A sleek, elegant feline with a tapered tail, rounded cheeks, and ears that stand alert. What changed? The shaping. The first person just crocheted. The second sculpted.
Professional amigurumi artists don’t rely on stuffing to fix bad shapes. They use strategic increases and decreases to guide the fabric into natural forms. A rounded head? That’s not just “more stitches.” It’s a slow, calculated expansion that mimics how flesh swells. A long neck? That’s controlled decreases that taper like a real animal’s.
And here’s the best part: once you understand these principles, you can tweak any pattern. You can fix a floppy ear. You can make a unicorn’s horn pointier. You can turn a generic bunny into a character with personality.
Shaping isn’t just technical—it’s expressive. It’s how your creations communicate emotion. A slightly squished nose says “playful.” A gently sloping forehead says “wise.” That’s the power you’re holding in your hands.
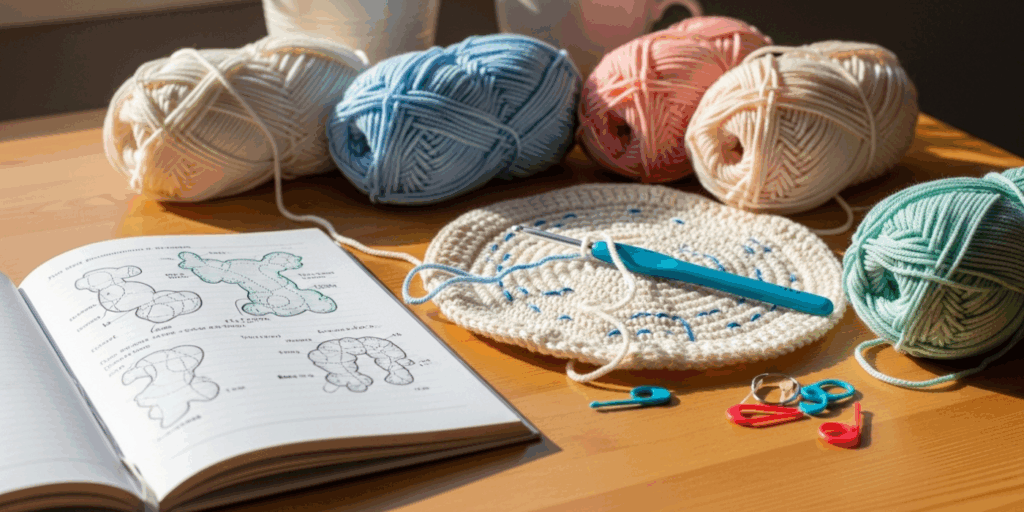
The Secret Sauce: How Increases and Decreases Create Form

You’ve probably heard the terms “increase” and “decrease.” But what do they really do?
An increase—like working two stitches into one—makes the fabric expand outward. A decrease—like crocheting two stitches together—pulls it inward. Simple, right? But here’s where magic happens: where you place them changes everything.
Imagine you’re making a head. If you increase evenly all the way around, you get a perfect sphere. But if you increase only on the front and back? You get an oval—perfect for a snout. If you increase more on the sides than the top? You get cheekbones.
The key is asymmetry. Real animals aren’t symmetrical in every round. Their faces slope. Their ears tilt. Their limbs taper.
Let’s take a practical example: making a dog’s muzzle.
Beginner approach:
- Round 1: 6 sc in magic ring
- Round 2: inc in every stitch (12)
- Round 3: inc, sc repeat (18)
- Round 4: inc, sc, sc repeat (24)
- Round 5: work even
Result? A round, blobby snout that looks like a mushroom.
Pro technique:
- Round 1: 6 sc
- Round 2: inc in every stitch (12)
- Round 3: inc, sc repeat 6 times (18) — increase only on the front
- Round 4: inc, sc, sc repeat 6 times (24) — still only front-focused
- Round 5: sc, dec repeat 6 times (18) — start narrowing the sides
- Round 6: dec in every other stitch (9) — taper to a point
Now you have a muzzle that points. It looks real. It looks intentional.
The trick? Place increases where you want volume. Place decreases where you want to pull in. Don’t just follow the pattern blindly—ask yourself: Where should this part bulge? Where should it narrow?
Pro tip: Use stitch markers to track your “front,” “back,” and “sides.” Even if your pattern doesn’t include them, add them. It’s the difference between flying blind and flying with GPS.
Avoiding the “Sausage Syndrome”: Crafting Smooth Transitions
We’ve all been there. You finish a limb, and it looks less like a leg and more like a hot dog with a sock stuck on it. That’s the “sausage syndrome”—and it’s caused by one thing: abrupt transitions.
When you go from a wide section to a narrow one too fast, the fabric bunches. It creates unnatural ridges. It looks cheap. And worse—it’s uncomfortable to hold.
The fix? Gradual shaping.
Think of it like rolling a snowball. You don’t suddenly add a huge chunk of snow—you build it slowly, layer by layer. The same goes for limbs, tails, and necks.
Let’s say you’re making a rabbit’s leg. The thigh is wide. The ankle is thin. The foot is even smaller.
Bad approach:
- Round 1–4: 12 sc (thigh)
- Round 5: dec in every stitch (6) — suddenly narrow!
- Round 6–8: 6 sc (ankle)
- Round 9: dec to 4 (foot)
Result? A sharp, unnatural bend. The leg looks broken.
Pro approach:
- Round 1–4: 12 sc (thigh)
- Round 5: sc, dec repeat 4 times (8)
- Round 6: dec in every stitch (4)
- Round 7: 4 sc (narrowing slowly)
- Round 8: dec (2)
- Round 9: 2 sc (tiny foot)
See the difference? You’re not jumping from 12 to 4. You’re easing into it. Each round only reduces by 1–2 stitches. The fabric flows. It curves. It looks like it was grown, not stitched.
Bonus trick: Use invisible decreases. Instead of the standard “sc2tog,” try the hidden decrease: insert your hook into the front loop of the next stitch, then the front loop of the stitch after that. Yarn over and pull through both. Finish the stitch normally. The seam disappears, and the curve looks seamless.
And don’t forget: stuffing timing matters. Don’t pack the limb full right away. Add stuffing gradually as you decrease. This lets the yarn mold naturally around the filling, avoiding lumps.
The Magic of Placement: Where to Add Stitches for Realistic Silhouettes
Here’s a secret pros never tell beginners: the shape of your amigurumi isn’t determined by the number of stitches—it’s determined by WHERE you place them.
Let’s talk about ears.
Most patterns say: “Make 2 ears, each with 6 sc, then decrease.” But if you make them flat and round, they’ll flop. Real ears have structure. They curve. They have a ridge.
Try this instead:
- Start with a small magic ring: 6 sc
- Round 2: inc in every stitch (12)
- Round 3: inc, sc repeat 6 times (18) — increase only on the outer edge
- Round 4: inc, sc, sc repeat 6 times (24) — still only on the curve
- Round 5: sc, dec repeat 6 times (18) — now taper the inner edge
- Round 6: dec in every other stitch (9)
- Round 7: 9 sc
Now, when you fold the ear in half along the inner edge, it naturally curves outward. It stands up. It looks like it’s listening.
This is called differential shaping—adding more stitches to one side than the other to create a bend.
Apply this to tails:
- Want a curly tail? Increase on one side only for 3 rounds, then decrease on the opposite side.
- Want a long, slender tail? Keep the same number of stitches for 4–5 rounds, then decrease slowly over 3 rounds.
- Want a fluffy tail? Add a few extra rounds of even stitches before decreasing—this gives you more volume to fluff up.
Even facial features use this. To give a character a cute, upturned nose, increase on the bridge of the nose for one round, then decrease sharply on the sides. Instant personality.
The best part? You can experiment. Try placing increases on the bottom of a hat to make it slouch. Try decreasing on the top of a body to create a waist. The possibilities are endless.
Pro tip: Sketch your shape first. Even a quick doodle on paper helps you visualize where the curves should go. Your hands will thank you.
The Hidden Tool: Stuffing, Positioning, and Wire (Yes, Wire!)
You might think shaping is only about stitches. But here’s the next-level secret: your stuffing is part of the sculpture.
Most people just shove fiberfill in until it’s firm. But pros strategically place stuffing.
- For a round head? Stuff evenly.
- For a pointed snout? Stuff the tip last, and only lightly.
- For a curved tail? Stuff the base firmly, then leave the tip loose so it can bend.
- For standing ears? Insert a small piece of wire (yes, wire!) inside the ear before closing it. Bend it gently to hold the shape. Use floral wire or pipe cleaners—thin, flexible, and safe.
I once made a dragon with wings that wouldn’t hold their shape. Then I added thin, bendable wire along the leading edge. Now it looks like it’s mid-flight.
And don’t forget: positioning matters. If you’re making a sitting animal, stuff the bottom more firmly to help it balance. If it’s standing, make the legs slightly firmer than the body.
Use a chopstick or a knitting needle to push stuffing into tight spots. Don’t rush. Take your time. The shape you create now will define your piece for years.
Also—don’t overstuff. Too much filling creates tension, distorts stitches, and makes seams pop. You want firm, not rock-hard. A good test: press your finger into the fabric. It should spring back slightly, not stay dented.
From Pattern-Follower to Pattern-Creator: Designing Your Own Shapes
Here’s the ultimate goal: you don’t need a pattern anymore.
Once you understand shaping, you can invent your own creatures. That owl with the big round eyes? You can make it. That quirky robot with the square head? Go for it.
Start small. Modify an existing pattern. Make a cat with longer ears. Turn a bunny into a rabbit with floppy, oversized ears. Change the head shape from round to oval. Add a tail. Make a character with a hunched back.
Use these questions as your guide:
- Where do I want volume?
- Where do I want to narrow?
- Should this part be stiff or flexible?
- What emotion do I want this creature to express?
Sketch. Experiment. Make mistakes. Your first “original” amigurumi might look weird. That’s okay. Your second? Better. Your third? Professional.
And when you get it right? That feeling—when you hold your creation and think, I made this—is better than any store-bought toy.
Final Thoughts: Shaping Is Your Superpower
Amigurumi isn’t just about following instructions. It’s about storytelling with yarn.
Every increase is a breath. Every decrease is a sigh. Every curve is a smile. When you master shaping, you stop making toys—and start making characters.
You’re not just crocheting. You’re sculpting emotion. You’re giving life to felt and fiber.
So next time you pick up your hook, don’t just count stitches. Feel the shape. Imagine the creature breathing. See its eyes light up. Hear its tiny footsteps.
And when someone asks, “How did you make that?”—you can smile and say, “I didn’t just crochet it. I shaped it.”
Now go make something beautiful.
What’s the first creature you’ll design when you master these techniques?
Drop your idea in the comments—I’d love to hear what you’re planning to create. And if this guide helped you see amigurumi in a whole new way, share it with a fellow crocheter. Because the best part of this craft? It’s meant to be shared.
Happy shaping. 🧶✨

Gabriela Ferreira is a passionate crochet and knitting enthusiast who finds inspiration in every skein of yarn she touches. With a love for color, texture, and handmade detail, she brings creativity and warmth to each project she creates. Gabriela believes that every stitch tells a story, and she enjoys sharing her craft with others who appreciate the beauty of fiber arts.


