You’ve just finished your first scarf—only to realize it’s lopsided, too tight, or looks nothing like the picture you copied from Pinterest. Sound familiar? You’re not alone.
Crochet is one of those beautiful, meditative crafts that feels magical when it clicks… and frustratingly confusing when it doesn’t. Whether you’re a beginner who just picked up a hook for the first time or someone who’s been crocheting for years but keeps hitting the same snags, mistakes are part of the journey. The good news? Most of them are quick to fix—once you know what to look for.
In this guide, we’ll walk through the seven most common crochet mistakes that trip people up—and how to fix them fast, without ripping out your whole project (unless you absolutely have to). We’ll cover uneven edges, twisted chains, inconsistent tension, miscounted stitches, and more—all explained in plain language, with real-life examples and simple fixes you can apply today. No jargon. No overwhelm. Just practical, actionable tips that’ll save you time, frustration, and maybe even a few half-finished blankets.
By the end, you’ll not only know how to fix these errors—but how to prevent them before they happen. And hey, you might even fall back in love with your hook.
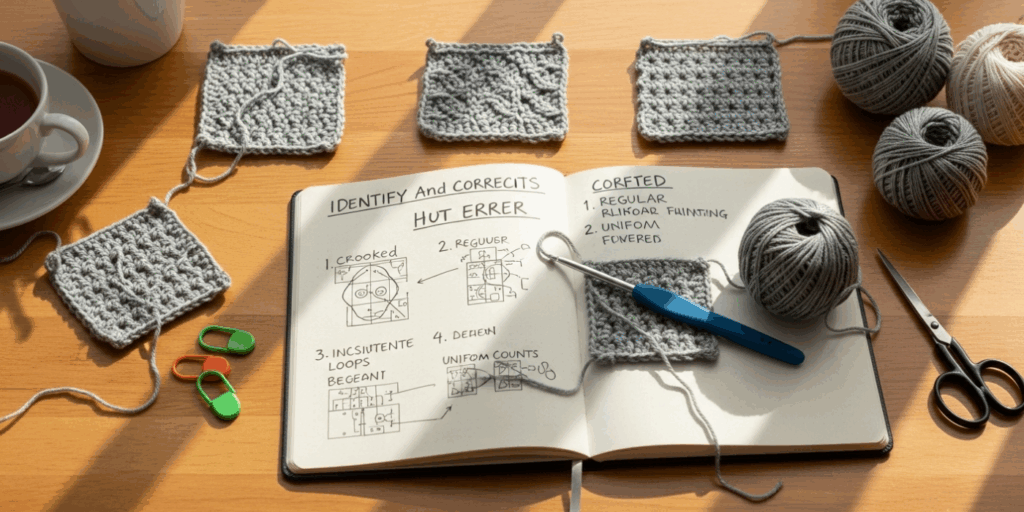
Mistake #1: Your Edges Are Wavy or Crooked (And Why It’s Not Your Fault)
If your project looks like a wavy sea blanket instead of a neat rectangle, you’re not crocheting “wrong”—you’re just missing a key rule: count your stitches every row.
Here’s what’s happening: When you skip a stitch at the beginning or end of a row, you lose one stitch. When you accidentally add an extra stitch (like crocheting into the turning chain as if it’s a real stitch), you gain one. Over just five rows, that’s five stitches off. By row 20? Your scarf is curving like a banana.
The fix?
Start every row by counting your stitches before you begin. Use a stitch marker or a small piece of contrasting yarn to mark the first and last stitch of each row. That way, you always know where to start and stop.
Also, learn your turning chain rules. For single crochet, the chain 1 does not count as a stitch. For double crochet, chain 3 usually does count. Check your pattern! If it says “ch 3 counts as first dc,” then skip the first stitch after the chain. If it doesn’t say that, treat the chain as a space and work into the first actual stitch.
Pro tip: Try this trick—after every row, lay your work flat and count the stitches vertically along the edge. If you see a gap or a bulge, you missed or added a stitch. Fix it now, not after three more rows.
This one mistake ruins countless projects. But once you start counting? You’ll notice your edges straighten out like magic.
Mistake #2: Your Chain Is Too Tight (And How It’s Killing Your Flow)
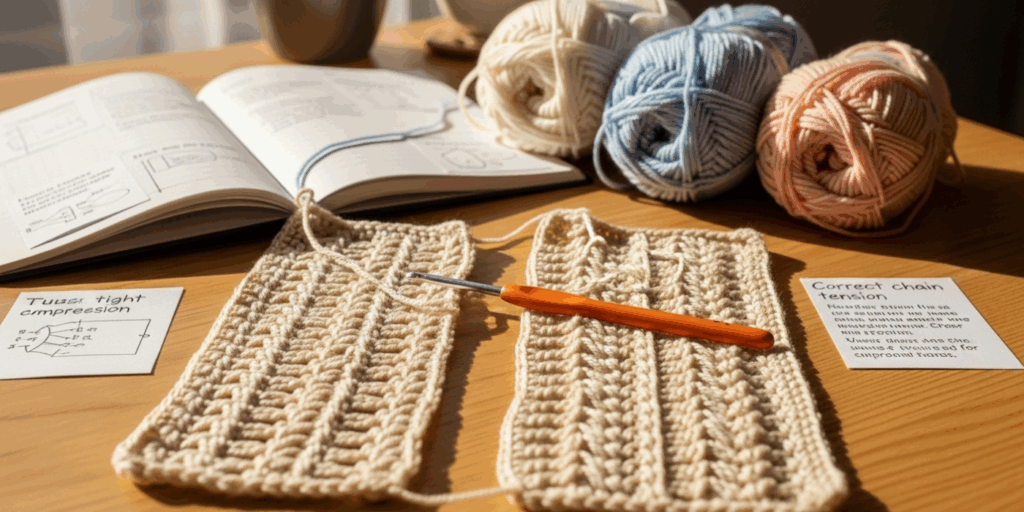
Ever started a project and felt like your chain was fighting you? Like your fingers are cramping, and the yarn won’t glide? That’s tension tension—and it’s the silent killer of crochet joy.
A too-tight chain makes it nearly impossible to work into those loops on the next row. You end up poking, pulling, and sometimes even breaking your yarn. And if you’re making a hat, blanket, or garment? That tight foundation row will make the whole piece curl or feel stiff.
Why does this happen?
Most beginners grip the hook like they’re holding a pencil… and the yarn like they’re squeezing a stress ball. You’re not knitting a bomb—you’re creating something soft and flexible.
The fix?
Try this: Hold your yarn between your index finger and thumb, letting it slide freely. Use your hook to catch the yarn, not grab it. Imagine you’re gently pulling a thread from a spool—not wrestling it.
Practice making a chain with your non-dominant hand. Yes, really. It forces you to slow down and feel the motion. You’ll be amazed at how much looser and more even it becomes.
Also, try using a slightly larger hook for your foundation chain, then switch to the recommended size for the rest of the project. Many experienced crocheters do this! It gives you room to breathe.
And here’s a secret: Your chain doesn’t have to be perfect. It just has to be workable. If it’s a little uneven? That’s okay. Your stitches will smooth it out.
Mistake #3: You’re Not Reading the Pattern (And That’s Okay—Here’s How to Start)
Let’s be honest: Patterns can feel like ancient hieroglyphs. “Work 2 dc in next st, sk 2, (ch 3, dc in next st) x 4…” It’s no wonder people skip ahead and guess.
But guessing is the fastest way to end up with a sweater that fits your cat, not you.
The problem? You’re not tracking repeats, stitch counts, or row markers. You’re working on autopilot.
The fix?
Grab a highlighter—or better yet, print your pattern and use colored pencils. Highlight every repeat in one color, every increase in another. Circle the stitch count at the end of each row. Write “R1: 45 sts” right next to the instructions.
Use stitch markers religiously. Place one after every 10 stitches in a row. When you get to the marker, you know you’re on track.
And here’s a game-changer: Read the entire row before you start. Don’t just look at the first instruction. Read ahead. What’s coming? Are you increasing? Decreasing? Switching stitch types? Knowing the destination helps you navigate the path.
Pro tip: If you’re using a free pattern from a blog or YouTube, check the comments. Someone else probably made the same mistake—and left a fix. Patterns aren’t always flawless. Community wisdom is gold.
You don’t need to be a pattern expert. You just need to be curious. Slow down. Read. Mark. Breathe.
Mistake #4: You’re Using the Wrong Hook Size (And It’s Changing Your Whole Project)
You followed the pattern. Used the yarn it said. But your blanket is the size of a tea towel… or your beanie looks like a hat for a toddler?
Chances are, your hook size is off.
Hook size isn’t just a suggestion—it’s a science. A 4mm hook with worsted weight yarn creates a different gauge than a 5.5mm hook. And if your gauge is off, your project will be too.
Why it matters:
If you’re making a sweater, a 1-inch difference in gauge can mean your sleeves are 4 inches too short. A blanket that’s supposed to be 60 inches wide? You might end up with 48.
The fix?
Always make a gauge swatch. Seriously. Even if you’re “sure” you’re right.
Crochet a 4×4 inch square using the stitch pattern in the project. Count how many stitches and rows fit in 2 inches. Compare it to the pattern’s gauge. If you have more stitches per inch? Your hook is too small. Use a bigger one. Fewer stitches? Go smaller.
And here’s the truth: Yarn brands vary. Two “worsted weight” yarns from different companies can behave totally differently. Don’t trust the label—trust your hook and your hands.
Keep a small notebook: “Yarn: Lion Brand Wool-Ease. Hook: 5.5mm. Gauge: 16 sts x 12 rows = 4 inches.” Next time you use the same yarn? You’ll know exactly what to do.
This one mistake saves hours of rework. And it’s the difference between “I love this” and “I hate this.”
Mistake #5: You’re Forgetting to Weave in Ends (And It’s Haunting You Later)
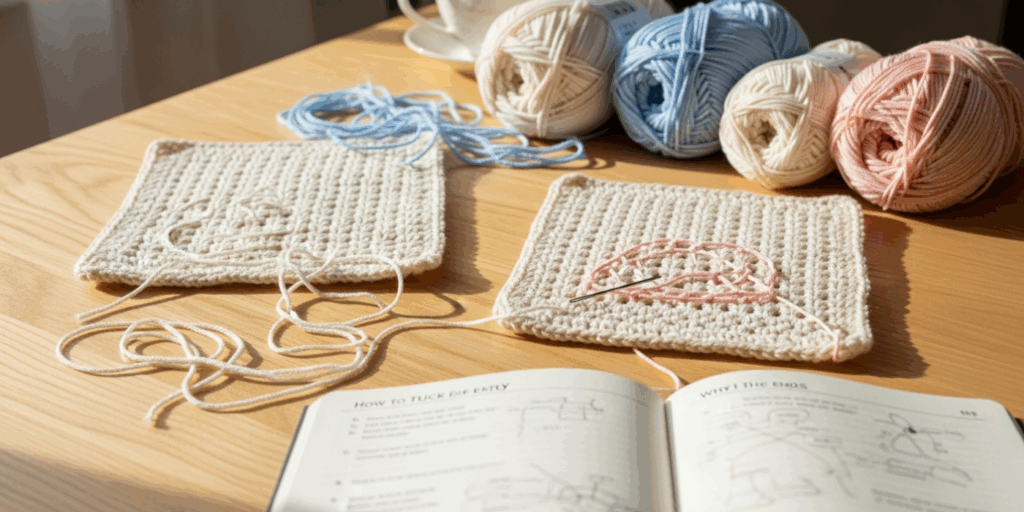
You finished your blanket. You tied off. You’re done… right?
Wrong.
If you’re leaving those yarn tails hanging, you’re setting yourself up for disaster. Those loose ends? They’ll snag. They’ll unravel. They’ll get caught in your dog’s fur or your kid’s toy bin. And when they do? You’ll be cursing yourself for not taking 10 minutes to weave them in.
The fix?
Weave in ends as you go. Seriously. Don’t wait until the end.
Use a yarn needle. Thread the tail. Go in and out of the back loops of your stitches—following the path of the yarn already there. Go in one direction for an inch, then reverse for another inch. Trim the excess.
For a cleaner finish, weave ends into the same color row—like hiding a secret. If you’re working in the round, weave into the side of the stitches, not the top.
And here’s a trick for bulky yarns: Weave in twice. Once in one direction, then again at a 90-degree angle. It locks the end in place.
Don’t think of this as a chore. Think of it as finishing your art. A project with messy ends looks half-done. One with clean, hidden tails? Looks professional. And you’ll thank yourself when you wash it and nothing unravels.
Mistake #6: You’re Crocheting Too Fast (And Missing the Joy)
Here’s a truth no one tells you: Crochet isn’t a race.
I’ve seen people zoom through a blanket in three days—and then realize they missed a color change every other row. Or they’ve got a scarf that’s 12 inches wide instead of 8… because they didn’t pause to check.
Speed doesn’t equal skill. In fact, rushing often leads to more mistakes… which take longer to fix than if you’d just slowed down.
The fix?
Set a timer for 15 minutes. Just crochet. No phone. No TV. Just you, your hook, and your yarn. Feel the rhythm. Notice how the yarn moves. Count your stitches out loud if you have to.
You’ll start to feel when you’ve made a mistake—even before you see it. That’s muscle memory. That’s mindfulness.
Crochet is one of the few crafts that’s literally designed to slow you down. To give you space to breathe. To reconnect with your hands.
So if you’re feeling frustrated? Pause. Put it down. Take a walk. Come back tomorrow.
You’re not behind. You’re learning.
Mistake #7: You Give Up Too Soon (And That’s the Real Cost)
Let’s be real: The biggest mistake isn’t a crooked edge or a tight chain.
It’s quitting.
I’ve seen so many people abandon projects after one mistake. “It’s ruined.” “I’ll never get it right.” “I’m just not good at this.”
Here’s the truth: Every single crocheter—no matter how skilled—has made every mistake you’re making right now.
That lace shawl you admire? The maker frogged it three times.
That cozy afghan on Pinterest? It started as a lopsided mess.
Even the pros have rows they wish they could redo.
The difference? They kept going.
Your progress isn’t linear. It’s messy. It’s bumpy. It’s full of “oops” moments.
But every time you fix a mistake, you’re not just fixing yarn—you’re building confidence. You’re learning resilience. You’re training your hands to trust your mind.
So if your scarf looks like a spiral galaxy? That’s okay.
If your hat is too small? That’s a lesson.
If your blanket has a hole? You now know how to fix it next time.
You’re not failing.
You’re growing.
Final Thoughts: Mistakes Are Just Part of the Pattern
Crochet isn’t about perfection. It’s about presence. It’s about the quiet rhythm of hook and yarn, the way your hands remember what your mind forgets.
The mistakes we make? They’re not flaws. They’re fingerprints. They’re proof you showed up. You tried. You cared.
And every time you fix one? You become a better crocheter—not because you got it right, but because you didn’t give up.
So the next time you spot a crooked edge, a twisted chain, or a missed stitch? Don’t sigh. Don’t throw it in the drawer.
Smile.
Take a breath.
Grab your needle.
And fix it.
Because here’s the secret:
The most beautiful things aren’t made by people who never made mistakes.
They’re made by people who kept going… after they made them.
Your Turn:
What’s the one crochet mistake that always trips you up? Was it the chain? The tension? The pattern? Drop it in the comments below—I read every one, and I’ll help you fix it.
And if this helped you? Share it with a friend who’s ready to stop stressing and start crocheting with joy.
Now go on—grab your hook. Your next project is waiting. And this time? You’ve got this. 💛

Gabriela Ferreira is a passionate crochet and knitting enthusiast who finds inspiration in every skein of yarn she touches. With a love for color, texture, and handmade detail, she brings creativity and warmth to each project she creates. Gabriela believes that every stitch tells a story, and she enjoys sharing her craft with others who appreciate the beauty of fiber arts.


