You spent hours—maybe even days—perfecting that delicate lace shawl, that cozy chunky blanket, or that whimsical amigurumi unicorn. You’ve chosen the perfect yarn, mastered the stitches, and even added tiny details like embroidered eyes or hand-sewn ribbons. But when you snap a photo to share it online… it just doesn’t pop. The colors look dull. The texture gets lost. The lighting makes it look like a blurry mess.
Sound familiar?
You’re not alone. Thousands of crocheters around the world create stunning handmade pieces every day—but too many of them end up with photos that fail to do their work justice. In a world where Instagram, Etsy, Pinterest, and TikTok are the new marketplaces for handmade goods, great photography isn’t optional—it’s essential. A well-lit, thoughtfully composed photo can turn a simple crochet project into a viral sensation. A poorly shot one? It disappears into the scroll.
That’s why we’re here. In this guide, you’ll learn practical, easy-to-follow crochet photography tips that require no fancy equipment, no studio, and no professional training—just your phone, a bit of natural light, and some simple tweaks to your setup. Whether you’re selling your creations, building a craft blog, or just want to proudly share your work with friends and family, these tips will help your crochet projects stand out, shine, and tell their story.
Let’s dive in.
1. Light Is Your Best Friend (And No, You Don’t Need a Studio)
Let’s get this out of the way: lighting makes or breaks your crochet photos. More than your camera, more than your background, more than your props—it’s the light that brings out the texture, color, and soul of your work.
Think about it: a beautifully crocheted scarf in dim, yellowish indoor light looks flat and muddy. But the same scarf, photographed near a window on a cloudy morning? It glows. The stitches pop. The yarn’s subtle variegation comes alive.
Here’s the secret: natural light is your superpower.
You don’t need expensive ring lights or softboxes. Just find a spot near a large window—preferably one that gets soft, diffused daylight. Early morning or late afternoon (what photographers call the “golden hour”) is ideal. Midday sun? Too harsh. It creates harsh shadows and washes out colors.
Pro tip: On bright days, hang a white sheet or a piece of printer paper over your window to diffuse the light. It’s like nature’s built-in softbox.
Try this simple setup:
- Place your crochet item on a clean surface (a white foam board, a wooden table, or even a clean bedsheet).
- Position it so the light comes from the side—not directly above or behind.
- Take a few test shots. If you see shadows that look too dark or areas that look washed out, move your item slightly until the light feels even and gentle.
And yes—use your phone’s camera. Modern smartphones have incredible sensors. What matters isn’t the gear. It’s how you use it.
Fun fact: A study by Etsy found that listings with high-quality photos received 3x more views and 50% more sales than those with poor lighting. Your crochet deserves better than a dark, blurry snapshot.
2. Backgrounds & Composition: Less Is More
You’ve got your light right. Now, what’s behind your project?
If your background is cluttered—a messy desk, a pile of laundry, a busy wallpaper—you’re distracting from the star of the show: your crochet.
Simple, clean backgrounds win every time.
Think:
- A plain white or light gray foam board (available at any craft store for under $5)
- A wooden cutting board or a slice of driftwood for a warm, rustic feel
- A textured linen napkin or a neutral-toned blanket
- A marble slab or even a clean bathroom tile if you’re feeling creative
Avoid:
- Bright patterns
- Cluttered shelves
- Reflective surfaces that cause glare
- Anything that competes for attention
Now, let’s talk composition.
Your crochet piece shouldn’t just sit in the center of the frame like a museum exhibit. Try these easy tricks:
- The Rule of Thirds: Imagine your photo divided into a 3×3 grid. Place your project along one of the lines or at an intersection. It feels more dynamic than centering it.
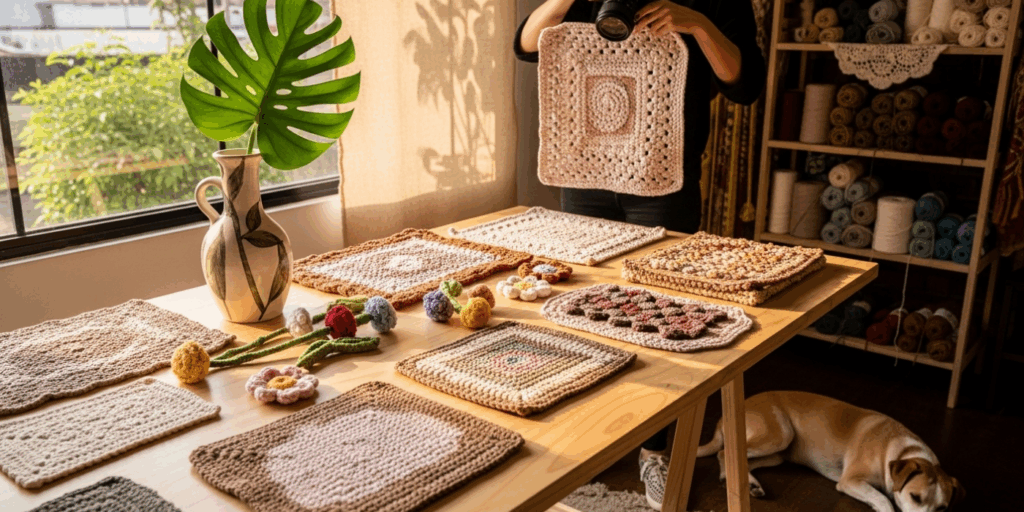
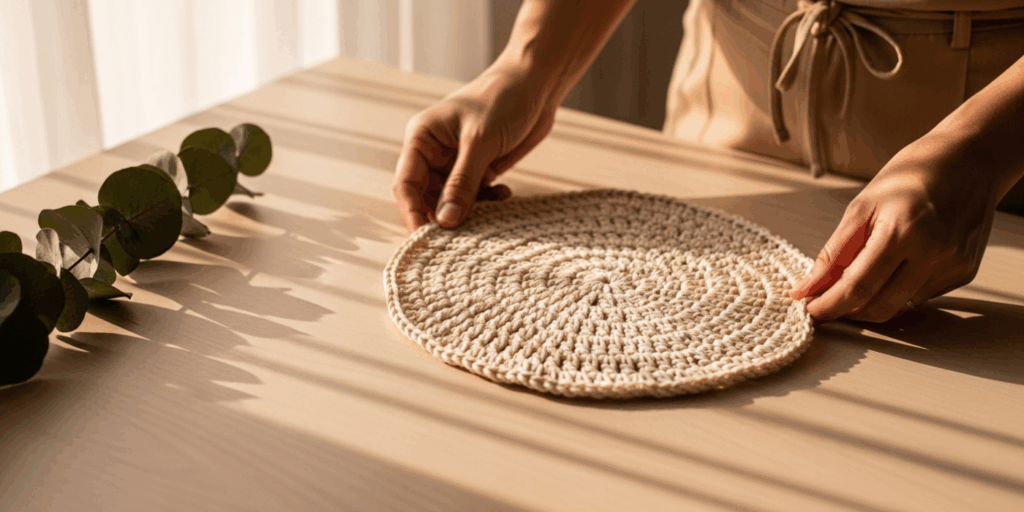
- Shoot from Above (Flat Lay): Perfect for blankets, scarves, or intricate doilies. Lay your piece flat, and shoot straight down. Add a few coordinating props—a teacup, a book, a sprig of eucalyptus—to tell a story.
- Shoot at Eye Level: For 3D pieces like amigurumi or hats, get down to their level. It makes them feel alive, like they’re looking right at you.
- Leave Breathing Room: Don’t cram the entire frame. Give your project space to “breathe.” A little negative space makes your photo feel intentional, not chaotic.
Think of it like this: Your crochet is the soloist in a symphony. The background? The orchestra. You don’t want the orchestra to drown out the soloist.
3. Highlight the Texture: Make Them Want to Touch It
One of the most magical things about crochet? The texture. The way the stitches catch the light. The loops, the bumps, the delicate lace. But most photos flatten it all into a muddy blur.
So how do you make people feel the texture—even through a screen?
Use side lighting.
When light hits your project from the side (not front-on), it casts tiny shadows in the valleys between stitches. These shadows create depth. They make your granny square look three-dimensional. They make your cable stitch look like it’s woven from silk.
Try this:
- Place your project on a surface.
- Shine a lamp or position yourself near a window so the light comes in at a 45-degree angle.
- Take a photo. Then, take another with the light from the opposite side.
- Compare. Notice how one makes the stitches pop, and the other makes them look flat?
Bonus trick: Gently blow on your project before shooting. Tiny fibers can settle in odd places. A soft puff of air can fluff up a blanket or smooth out a messy edge—making your piece look freshly made and cared for.
And don’t forget close-ups.
Zoom in on a single stitch. Capture the way the yarn twists. Show the tiny detail of a button or bead you added. These micro-shots are powerful. They tell a story of craftsmanship. They invite the viewer to appreciate the time and love poured into each loop.
Imagine scrolling through Instagram and seeing two photos: one of a blanket, blurry and flat. Another of the same blanket, but with a close-up of a single shell stitch catching the light like a tiny wave. Which one stops your thumb?
4. Color & Contrast: Make Your Yarn Sing
Color is emotional. A vibrant turquoise scarf feels joyful. A muted gray blanket feels calm. But if your photo doesn’t capture the true color, you’re misrepresenting your work—and that can lead to disappointed buyers.
Here’s the problem: Phone cameras are sneaky. They often overexpose white yarn or underexpose dark shades. Your beautiful deep plum yarn might look black. Your ivory blanket might look yellow.
Solution? White balance.
Most phones let you tap on the screen to set focus. But here’s the pro move: tap on a neutral gray or white area in your photo before taking it. This tells your phone, “This is what white looks like,” and it adjusts the colors accordingly.
Need a quick fix?
- Hold up a white piece of paper next to your project before shooting.
- Tap on that white paper on your screen.
- Lock the exposure (hold your finger down until you see “AE/AF Lock” appear).
- Now take your photo.
Also, contrast matters.
If your project is light-colored, use a darker background to make it stand out. If it’s dark, use a light one. Think of it like typography: black text on white reads clearly. Red text on a red background? Invisible.
And don’t be afraid of color psychology.
- Soft pastels? Pair them with linen, wood, or dried flowers for a cozy, cottagecore vibe.
- Bold neons? Use a simple black or concrete background to let them shine.
- Neutral tones? Add a pop of color with a single flower or a ceramic mug.
A crocheter named Mia from Oregon shared how she started photographing her amigurumi on vintage teacups. Her sales jumped 70% in two months. Why? Her photos didn’t just show a toy—they told a story of warmth, nostalgia, and care.
5. Styling & Storytelling: Turn a Photo Into a Moment
Here’s the truth: people don’t buy crochet because it’s pretty. They buy it because it makes them feel something.
A blanket isn’t just wool and stitches. It’s comfort after a long day.
A hat isn’t just yarn. It’s a gift from a grandmother who crocheted it by candlelight.
An amigurumi isn’t just a toy. It’s a companion for a child during a hospital stay.
So… how do you show that in a photo?
Tell a story.
Instead of just photographing your crochet item on its own, place it in a moment.
Try these ideas:
- Drape your shawl over a chair beside a steaming cup of tea and an open book.
- Place your crochet coaster next to a jar of homemade jam on a wooden breakfast table.
- Let your amigurumi sit on a windowsill with sunlight streaming through, as if it’s watching the rain.
- Photograph your bag slung over a bike handlebar, as if you’re about to head out for a walk.
These small details say: This isn’t just a thing. It’s part of a life.
And that’s what makes people pause.
You don’t need expensive props. Use what you already have:
- A favorite mug
- A pair of reading glasses
- A book with a worn cover
- A sprig of lavender from your garden
- A knitted scarf from a loved one (yes, even if it’s yours!)
Pro tip: Keep a “photo box” with a few go-to props: a piece of fabric, a wooden spoon, a candle, a notebook. When you’re ready to shoot, grab what fits the vibe.
One Etsy seller said her best-selling item wasn’t her most complex piece—it was a simple headband photographed resting on a windowsill with morning light and a single dandelion puff beside it. The caption? “For the quiet mornings.” People cried. And bought. 87 times.
6. Editing: The Final Touch (No Filters Needed)
You’ve done the hard work. You’ve found the light, chosen the background, captured the texture, told the story. Now, just one step: editing.
Don’t panic—you don’t need Photoshop.
Use your phone’s built-in editor (or free apps like Snapseed, Lightroom Mobile, or VSCO). Here’s what to adjust:
- Brightness: Slightly increase if the photo looks too dark.
- Contrast: Boost a little to make stitches pop.
- Saturation: Increase just enough to make colors true-to-life. Don’t overdo it—no neon pinks unless that’s your yarn’s actual color!
- Shadows: Lift them slightly to reveal details in darker areas.
- Sharpness: Add a touch to bring out stitch definition.
Avoid:
- Over-filtering (looking like a vintage Instagram post from 2014)
- Heavy vignettes (dark edges around the photo—rarely helps crochet)
- Auto-enhance (your phone might over-saturate or make skin tones weird if people are in the shot)
Quick checklist before you post:
✅ Is the focus sharp?
✅ Are the colors true to life?
✅ Is the background clean?
✅ Does it make you want to reach out and touch it?
If yes—you’re golden.
Final Thought: Your Crochet Has a Voice. Let It Be Heard.
Every stitch you make carries your time, your patience, your creativity. But if no one sees it—really sees it—then that beauty stays hidden.
Photography isn’t about being perfect. It’s about being present. It’s about showing up for your craft with the same care you used to make it.
You don’t need a professional camera.
You don’t need a fancy studio.
You don’t even need to be “good at photography.”
All you need is a window, a clean surface, and the willingness to try.
So tomorrow morning, before you make your coffee, grab your latest project. Find the light. Set it up. Take one photo. Just one.
Then ask yourself:
Does this photo make me proud?
If the answer is yes—you’ve already won.
And if it’s not? Try again. Tomorrow’s light will be different. Your next photo will be better.
Because every crocheter deserves to be seen.
And your work? It’s worth being remembered.
Now it’s your turn.
What’s your favorite crochet project you’ve ever made? And what’s the one photo you’re most proud of? Share it in the comments below—I’d love to see your work and cheer you on. 🧶✨
P.S. If you found this helpful, share it with a fellow crocheter. One great photo can inspire a whole community.

Gabriela Ferreira is a passionate crochet and knitting enthusiast who finds inspiration in every skein of yarn she touches. With a love for color, texture, and handmade detail, she brings creativity and warmth to each project she creates. Gabriela believes that every stitch tells a story, and she enjoys sharing her craft with others who appreciate the beauty of fiber arts.


