Introduction
Have you ever crocheted a beautiful shawl that curls awkwardly at the edges? Or tried to make a sock heel that just won’t hug the curve of your foot? You’re not alone—and the solution might be simpler than you think. Enter crochet short rows: a clever, underused technique that lets you shape your fabric without increasing or decreasing stitches.
Unlike traditional shaping methods that alter stitch counts, short rows work by selectively working only part of a row, then turning your work early. This creates subtle curves, angles, or slopes—perfect for fitting garments to the body, adding dimension to accessories, or sculpting 3D toys. And the best part? You won’t see any gaps, holes, or uneven edges when done right.
In this guide, we’ll demystify short rows in crochet. You’ll learn how they work, why they’re so powerful, and—most importantly—how to execute them cleanly using beginner-friendly methods like the wrap-and-turn and German short rows (adapted for crochet). We’ll also explore real-world applications, from ergonomic ear flaps on winter hats to professional-looking shoulder shaping in sweaters.
Whether you’re a seasoned crocheter or just starting to experiment beyond blankets, mastering short rows will unlock a new level of design control. Let’s dive in!
What Are Short Rows—and Why Should You Care?
At their core, short rows are partial rows of crochet that stop before reaching the end of the stitch count. Instead of working all the way across, you turn your work early and start crocheting back in the opposite direction—but only over a segment of the row. By strategically placing these “short” passes, you build up extra fabric in specific areas, creating curves or slopes.
Think of it like folding a piece of paper: if you accordion-fold one side, that section becomes thicker and bends outward. Short rows do the same thing with yarn—but invisibly.
Why is this useful? Because many parts of the human body (and many design elements) aren’t flat. Shoulders slope. Heels curve. Shawl edges drape. Traditional shaping with increases or decreases can’t always mimic these organic contours smoothly. Short rows, however, let you add subtle shaping exactly where you need it, without changing your stitch count or disrupting your pattern.
This technique is especially valuable for:
- Garment fitting (e.g., bust darts, back neck shaping)
- Accessory draping (e.g., crescent shawls, triangular scarves)
- 3D amigurumi details (e.g., rounded ears, snouts, or paws)
Once you see short rows in action, you’ll wonder how you ever shaped without them.
The Wrap-and-Turn Method: Your First Step Into Short Rows
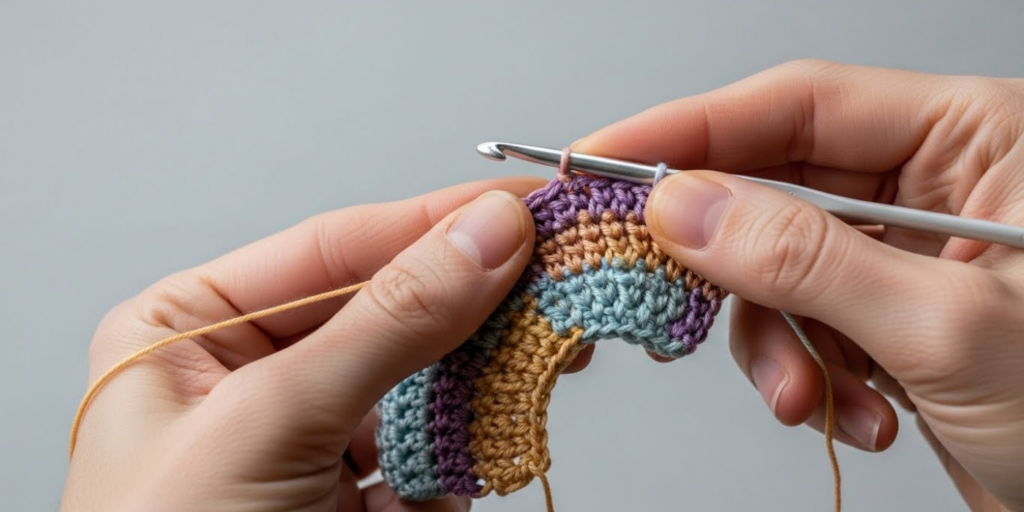
The most common way to work short rows in crochet is the wrap-and-turn (W&T) method. It’s simple, effective, and prevents holes at the turning points.
Here’s how it works:
- Work to your turning point (as specified in your pattern).
- Yarn over, then slip the next stitch from your hook onto your yarn needle or simply leave it unworked.
- Turn your work.
- Yarn over again (this creates the “wrap”) and continue crocheting back across the row.
- On the return pass, work the wrap together with the wrapped stitch to close the gap.
Example: Suppose you’re making a shawl and the pattern says: “Work 20 sts, wrap next st, turn.” You’d crochet 20 stitches, yarn over, slip stitch 21 (don’t work it), turn, then yarn over again and work back across the 20 stitches. Later, when you return to stitch 21, you’ll crochet the wrap and the stitch as one.
Pro tip: Always mark your wrap with a stitch marker the first few times—it’s easy to miss if you’re working with fuzzy or dark yarn.
This method ensures your fabric stays smooth and hole-free. And don’t worry—it gets intuitive with practice!
German Short Rows (Crochet-Style): A Cleaner Alternative?
You might have heard of German short rows from knitting circles. While originally a knitting technique, crafters have adapted it beautifully for crochet—and many prefer it for its nearly invisible finish.
In crochet, the German method skips the wrap. Instead, you:
- Work to your turning point.
- Turn your work.
- Pull up a tall loop (about ½ inch) on the first stitch of the new row—this “double stitch” acts as a placeholder.
- Continue crocheting as usual.
- When you return to the double stitch, work both legs of the tall loop together as one stitch.
The result? No wraps to pick up, fewer steps, and a smoother fabric—especially in lightweight or lace-weight yarns where wraps can show.
However, this method requires slightly more attention to tension. If your double stitch is too tight, it may pucker; too loose, and it could look sloppy. But once mastered, it’s a dream for seamless shaping.
When to choose which method?
- Use wrap-and-turn if you’re following a published pattern or want maximum security.
- Try German-style if you’re designing your own project or working with delicate yarns.
Both are valid—experiment and see which feels more natural for your hands!
Real-World Applications: Where Short Rows Shine
Now that you know the “how,” let’s talk about the “where.” Short rows aren’t just theoretical—they solve real problems in everyday projects.
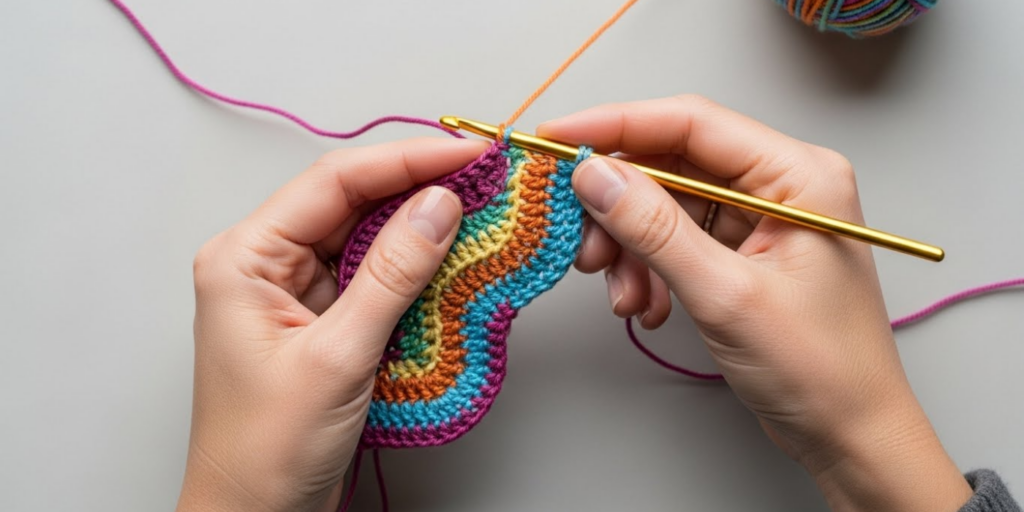
1. Shawls and Scarves
A classic crescent shawl uses short rows along the center back to create that elegant, upward curve. Without them, the shawl would lie flat and lack drape. By adding a few short rows every few rows, you encourage the fabric to hug the shoulders naturally.
2. Sweaters and Tops
Ever notice how the back of a sweater is slightly higher than the front? That’s back neck shaping—and short rows are the perfect way to achieve it without breaking your stitch pattern. Just work a few short rows across the center back stitches before continuing the yoke.
3. Hats with Ear Flaps
Instead of sewing on separate ear flaps, work short rows on each side of the brim. This creates built-in, seamless flaps that curve gently over the ears—ideal for winter wear.
4. Amigurumi and Toys
Need a teddy bear with a slightly upturned nose? A dinosaur with a curved tail? Short rows add subtle dimension without distorting the overall shape.
Bonus: Short rows are also great for fixing curling edges. If your blanket’s corners keep rolling, try a few short rows along the border to relax the tension.
Common Pitfalls—and How to Avoid Them
Even with clear instructions, short rows can trip you up. Here are the most frequent issues—and how to sidestep them:
1. Holes at the turning points
Cause: Not securing the wrap or missing the double stitch.
Fix: Always work the wrap together with its stitch. In German-style, treat the double stitch as one unit.
2. Uneven tension
Cause: Pulling too tight on the wrap or first stitch after turning.
Fix: Keep your turning yarn-over or tall loop relaxed. Practice on a swatch first!
3. Losing track of rows
Cause: Short rows disrupt the usual rhythm of full-row repeats.
Fix: Use row counters or mark each short row turn with a removable stitch marker. Note your progress in a journal if needed.
4. Misreading the pattern
Cause: Confusing “work to stitch X” with “work X stitches.”
Fix: Highlight turning points in your pattern before starting. Count out loud if necessary!
Remember: A test swatch with 2–3 short rows takes 10 minutes and saves hours of unraveling later.
Designing Your Own Short Row Shapes: A Creative Leap
Once you’re comfortable following patterns, why not design your own short row shaping? It’s easier than you think.
Start by sketching your desired shape on graph paper. Mark where you want the fabric to curve upward or outward. Then, translate that into short row placement.
For example, to create a gentle shoulder slope:
- Work to the center back.
- Begin short rows by turning 2 stitches earlier every other row (e.g., turn at stitch 28, then 26, then 24).
- After 3–4 short rows, work a full row to reset.
- Repeat on the other side for symmetry.
You can also combine short rows with color changes for striking visual effects—imagine a gradient shawl where short rows enhance the color pooling.
The key is to go slow, document your steps, and embrace trial and error. Every mistake teaches you how fabric behaves—which is the heart of true craftsmanship.
Conclusion
Crochet short rows might seem like an advanced trick, but they’re really just a smart way to “sculpt” with yarn. By working partial rows and turning your work strategically, you can add curves, angles, and custom fit—all without increasing, decreasing, or breaking your stitch pattern. Whether you’re refining a sweater’s silhouette, giving a shawl graceful drape, or bringing a stuffed animal to life, short rows offer precision and polish that elevate your projects from handmade to heirloom-quality.
Don’t let the unfamiliarity hold you back. Start small: try a short row swatch this weekend. Work five rows, then turn early on the sixth. See how the fabric bends? That’s your first step into a more dimensional world of crochet.
So grab your hook, pick a simple project, and give short rows a try. You might just discover your new favorite shaping secret.
Now we’d love to hear from you: Have you used short rows before? What project do you want to try them on next? Share your ideas, questions, or “aha!” moments in the comments below—let’s inspire each other to stitch beyond the flat!

Gabriela Ferreira is a passionate crochet and knitting enthusiast who finds inspiration in every skein of yarn she touches. With a love for color, texture, and handmade detail, she brings creativity and warmth to each project she creates. Gabriela believes that every stitch tells a story, and she enjoys sharing her craft with others who appreciate the beauty of fiber arts.


