Introduction
Imagine creating bold, eye-catching blankets, scarves, or bags filled with intricate geometric designs—without switching yarns every few stitches or wrestling with tangled bobbins. Sounds too good to be true? Welcome to the world of mosaic crochet, a clever colorwork technique that lets you craft stunning geometric patterns using only one color per row—and just basic stitches you already know.
Unlike traditional tapestry or fair isle crochet, mosaic crochet simplifies colorwork by relying on dropped stitches and strategic placement of tall stitches (like double or treble crochets) to “borrow” color from rows below. The result? Sharp, modern designs that look complex but are surprisingly beginner-friendly.
In this guide, we’ll break down everything you need to know to master mosaic crochet: how it works, why it’s easier than it looks, essential tips for reading charts and written instructions, and step-by-step guidance to start your first project with confidence. Whether you’re a visual learner who loves graphs or someone who prefers written rows, you’ll discover how this technique can unlock a whole new dimension of creativity—without the frustration.
Ready to turn simple stitches into striking art? Let’s dive in.
What Is Mosaic Crochet—and Why Is It So Accessible?
At first glance, mosaic crochet might look like advanced colorwork reserved for experts. But in reality, it’s one of the most approachable techniques for crocheters who want to play with color and pattern—without the usual headaches.
Here’s the secret: you only work with one yarn color at a time. Instead of carrying multiple strands or changing colors mid-row, you alternate colors every row (or every two rows). When you need a contrasting color to “appear” in your current row, you simply work a tall stitch—like a double crochet—into a stitch from a previous row that’s in the desired color. That tall stitch pulls the old color up into the new row, creating the illusion of complex colorwork.
This method eliminates common pain points:
- No tangled yarn bobbins
- No weaving in dozens of ends later
- No need to manage tension across multiple colors
- No complicated intarsia or stranded techniques
Mosaic crochet is ideal for visual learners because patterns are often presented as gridded charts, where each square represents a stitch and its color. But don’t worry—written instructions are also widely available, often using symbols like “Dc over dc 2 rows below” to guide you.
Best of all, you only need to know three basic stitches: chain, single crochet, and double (or treble) crochet. That’s it! No special hooks, no new techniques—just smart stitch placement.
Because of its simplicity and striking results, mosaic crochet has surged in popularity on social media and in indie pattern shops. And once you understand the rhythm, you’ll be hooked—literally.
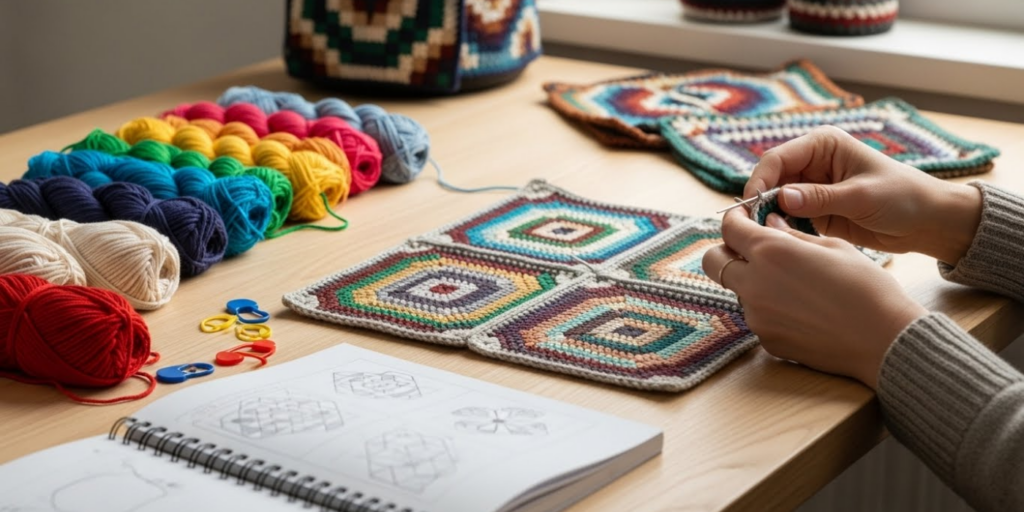
Getting Started: Essential Tools and First Steps
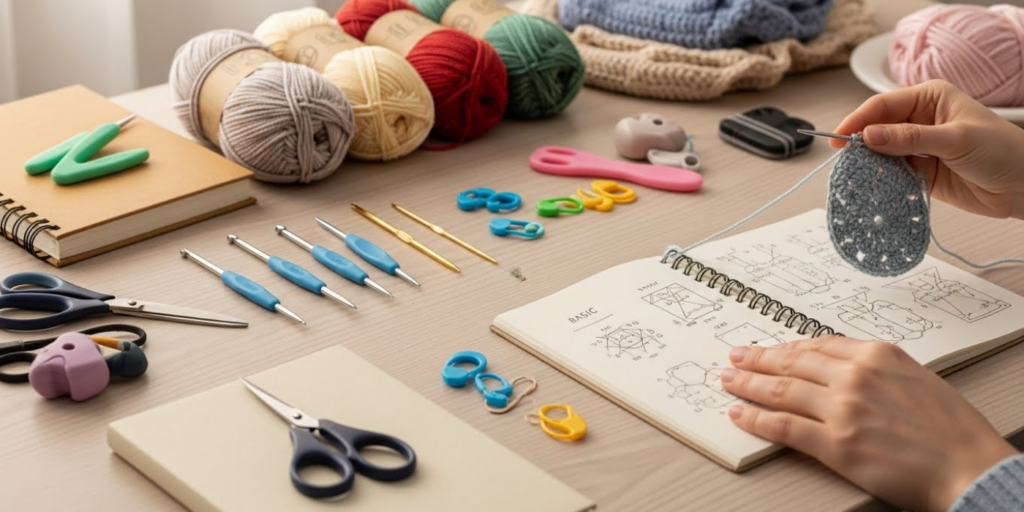
Before you begin your first mosaic project, gather a few basics:
- Two contrasting yarns (medium-weight #4 worsted is ideal for beginners)
- A crochet hook that matches your yarn label (usually 5.0–5.5 mm)
- Scissors and a tapestry needle (for finishing)
- Stitch markers (helpful for tracking repeats)
- A printed or digital chart (optional but highly recommended)
Now, choose a simple starter pattern. Look for designs labeled “beginner mosaic” or “two-color mosaic blanket.” Avoid patterns with frequent color changes or irregular repeats at first.
Step 1: Understand the row structure
Most mosaic patterns work in two-row repeats:
- Row 1: Work in Color A using only single crochet (sc) and chain spaces.
- Row 2: Work in Color B, placing double crochets (dc) over specific stitches from Row 1 to “pull up” Color A.
The chain spaces in Row 1 act as placeholders—they’re skipped in Row 2, creating negative space that defines the geometric shape.
Step 2: Practice with a mini swatch
Before committing to a full blanket, crochet a 6×6-inch swatch. This helps you:
- Get comfortable with reading the pattern
- See how the colors interact
- Adjust hook size if your fabric feels too stiff or loose
Step 3: Learn to read a mosaic chart
Each row on the chart represents a worked row, but remember: the tall stitches reference stitches 2 rows below. Many charts color-code which stitches to work tall and which to skip—making it almost like paint-by-numbers!
Pro Tip: Place a ruler or sticky note under the current row on your chart to avoid losing your place. Your future self will thank you!
Common Challenges—and How to Solve Them
Even with its simplicity, mosaic crochet can trip up beginners. Here are the most frequent hurdles—and how to overcome them:
1. Dropped stitches look messy or uneven
Those chain spaces are meant to be skipped, but if your tension is inconsistent, they can gape or pucker.
✅ Solution: Keep your chain stitches slightly tighter than your single crochets. Practice makes perfect—your fabric will even out as you go.
2. Losing track of which row you’re on
Since you’re referencing stitches from two rows back, it’s easy to miscount.
✅ Solution: Use row counters or mark every right-side row with a safety pin. Also, always count stitches at the end of each row to stay aligned.
3. Confusion between written instructions and charts
Some patterns only offer charts; others are text-only.
✅ Solution: If you’re chart-focused, try apps like Mosaic Crochet Buddy (free online tools exist too) to visualize your progress. If you prefer text, look for patterns that include both formats.
4. Fabric curling or biasing
This often happens when tall stitches are pulled too tightly.
✅ Solution: When working a dc over a stitch from two rows below, insert your hook loosely and keep the yarn relaxed. Blocking your finished piece also helps flatten curls.
Remember: mistakes are part of the process. Even experienced crocheters frog (rip out) rows when a mosaic pattern goes off-track. Be patient—your brain is learning a new visual language!
Design Tips: Creating Your Own Mosaic Patterns
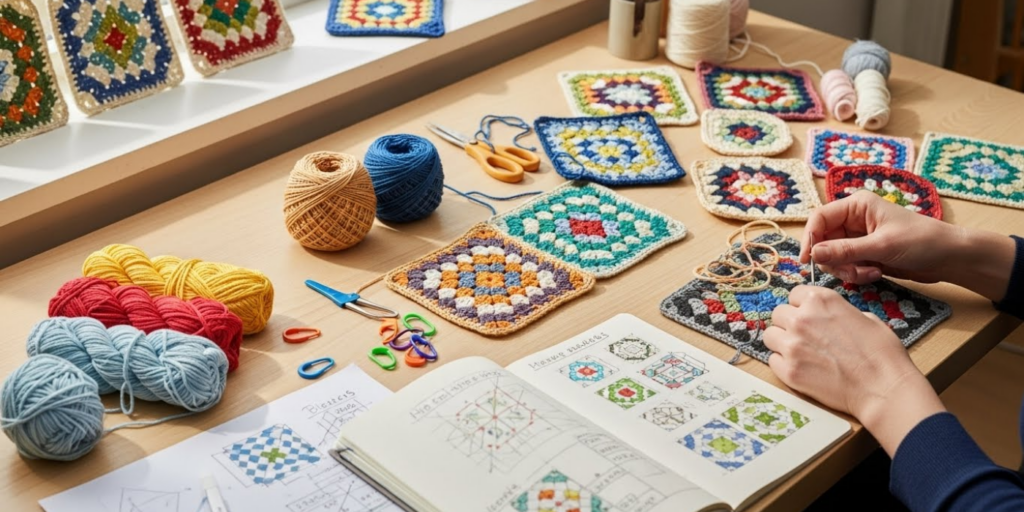
Once you’ve mastered existing patterns, you might wonder: Can I design my own? Absolutely! Mosaic crochet is wonderfully modular, making it perfect for customization.
Start by sketching a symmetrical shape on graph paper—like diamonds, chevrons, or zigzags. Keep your design even-numbered in width so it repeats cleanly. Then, follow these rules:
- Only one color per row
- Tall stitches (dc or tr) must reference a stitch exactly 2 rows below
- Never place a tall stitch over a chain space (there’s no stitch to grab!)
- Use single crochet and chains in “background” rows to set up the pattern
Many designers use free software like Stitch Fiddle or Mosaic Crochet Generator to test ideas digitally before swatching.
You can also modify existing patterns:
- Change the color scheme (try monochrome for modern elegance)
- Adjust the repeat size (larger motifs = bolder impact)
- Combine multiple chart sections for unique layouts
Imagine a tote bag with your initials in mosaic stitch, or a baby blanket featuring constellations you charted yourself. The geometric nature of mosaic crochet lends itself beautifully to personalization and modern aesthetics.
Plus, because it uses basic stitches, your custom designs remain accessible to other crocheters—making your creations easy to share or even sell as patterns.
Why Mosaic Crochet Is More Than Just a Trend
Mosaic crochet isn’t just visually stunning—it’s also mindful, meditative, and efficient. Unlike techniques that demand constant color changes, mosaic work has a rhythmic, almost puzzle-like flow. Once you internalize the two-row cycle, your hands move almost automatically, freeing your mind to relax or listen to a podcast.
It’s also yarn-efficient. Since you carry only one color per row and don’t carry floats across the back, there’s minimal waste. Leftover skeins of contrasting colors? Perfect for a mosaic cowl!
From a sustainability standpoint, mosaic crochet encourages creative reuse. A mismatched duo of yarns can become a striking pillow cover. A thrifted sweater can be frogged and reborn as a geometric market bag.
Moreover, the technique bridges generations and styles. It nods to traditional tile mosaics and Islamic geometric art, yet feels fresh in minimalist home decor or boho fashion. It’s both timeless and trendy.
And let’s not forget the confidence boost. Completing a mosaic project—especially your first—proves that you can tackle “advanced-looking” designs with basic skills. That empowerment often spills into other areas of your crafting life.
So whether you’re drawn to mosaic crochet for its beauty, simplicity, or creative potential, one thing’s clear: it’s more than a technique. It’s a gateway to a richer, more expressive making experience.
Conclusion
Mosaic crochet turns the illusion of complexity into achievable reality. By using just one color per row and leveraging tall stitches to “borrow” from below, you can create sharp, modern geometric patterns that wow without overwhelming. From choosing your first two yarns to designing your own charts, this technique is as flexible as it is forgiving.
We’ve covered the fundamentals—how it works, why it’s beginner-friendly, how to avoid common pitfalls, and even how to start creating your own designs. Now, it’s your turn to pick up that hook and give it a try.
Don’t wait for the “perfect” yarn or the “right” time. Grab two contrasting colors from your stash, cast on a swatch, and see the magic unfold stitch by stitch. You might just discover your new favorite way to crochet.
We’d love to see what you create! Have you tried mosaic crochet before? Are you planning your first project? Share your thoughts, questions, or photos in the comments below—your journey might inspire someone else to take the leap into geometric colorwork!

Gabriela Ferreira is a passionate crochet and knitting enthusiast who finds inspiration in every skein of yarn she touches. With a love for color, texture, and handmade detail, she brings creativity and warmth to each project she creates. Gabriela believes that every stitch tells a story, and she enjoys sharing her craft with others who appreciate the beauty of fiber arts.


