Introduction
Have you ever looked at a beautifully textured crocheted blanket, a seamless hat, or an intricately joined granny square afghan and wondered how it all came together so perfectly? Chances are, the humble slip stitch played a starring role behind the scenes. Often overlooked in favor of flashier stitches like double crochets or bobbles, the slip stitch is the quiet workhorse of the crochet world—simple, versatile, and surprisingly powerful.
In this article, we’ll peel back the layers of this unassuming stitch and reveal its many secrets. You’ll learn exactly when and how to use the slip stitch—not just to join rounds, but to create invisible seams, add subtle texture, shape garments, and even craft entire projects. Whether you’re a beginner who’s only used the slip stitch to fasten off yarn, or an experienced crocheter looking to expand your technical toolkit, this guide will help you see this stitch in a whole new light.
We’ll explore its practical applications, creative possibilities, and even a few tricks that seasoned designers swear by. By the end, you’ll be eager to pick up your hook and start experimenting. So grab your favorite yarn, a comfortable hook, and let’s dive into the elegant simplicity of the slip stitch.
What Is a Slip Stitch? (And Why It’s More Than Just a “Joining Stitch”)
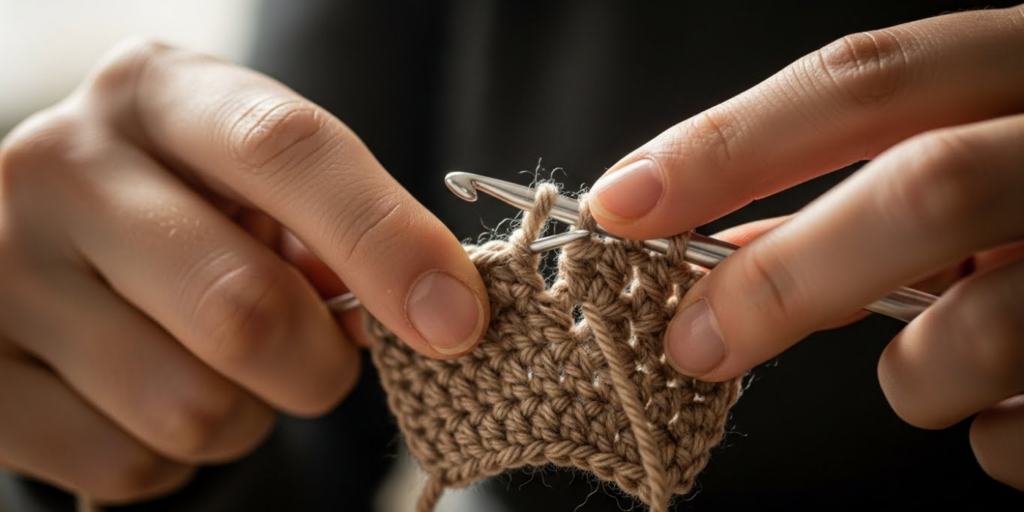
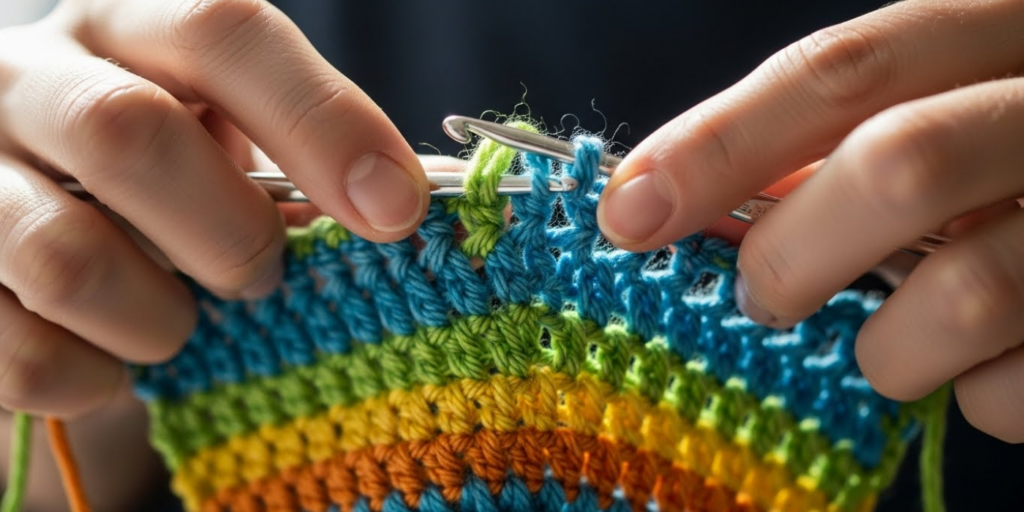
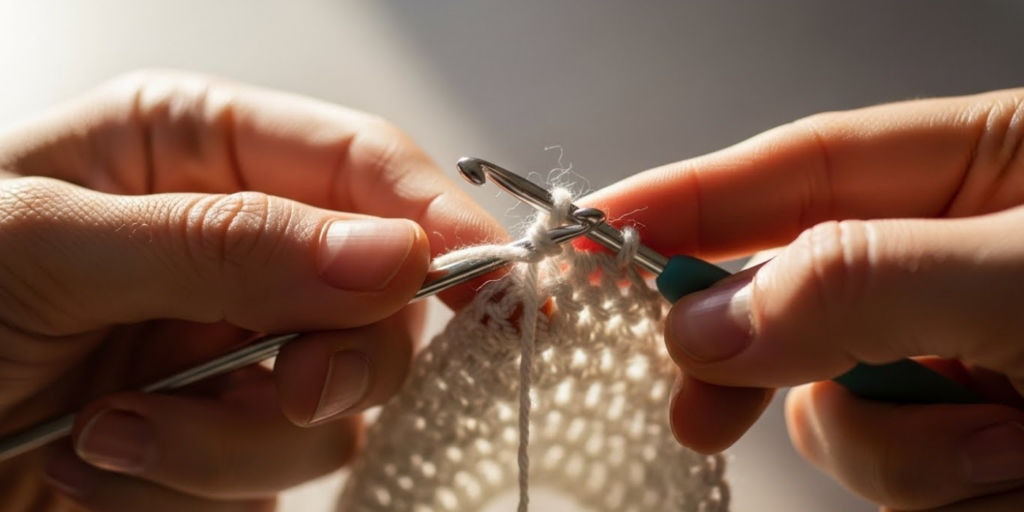
At its core, the slip stitch (sl st) is the shortest and flattest of all basic crochet stitches. To make one, you insert your hook into the next stitch, yarn over, and pull through both the stitch and the loop already on your hook in one smooth motion. That’s it—no height, no bulk, just a nearly invisible connection.
Many crocheters first encounter the slip stitch as a way to close a round in amigurumi or hats, or to join a new color in granny squares. But limiting it to these roles is like using a Swiss Army knife only as a toothpick! The slip stitch can do so much more.
For instance, it’s perfect for seaming pieces invisibly—think joining shoulders on a sweater or sides of a bag without bulky seams. It’s also ideal for edging, giving your projects a neat, finished border without adding bulk or curl. And in tapestry crochet or colorwork, slip stitches help carry unused yarn strands neatly along the back.
What makes the slip stitch so valuable is its discreet nature. It adds structure without stealing the spotlight, making it indispensable for clean finishes and professional-looking results. Once you start noticing where slip stitches are used—in store-bought garments, designer patterns, or vintage doilies—you’ll realize just how foundational this stitch truly is.
Slip Stitch in the Round: Joining Without Gaps or Twists
One of the most common—and crucial—uses of the slip stitch is joining rounds in circular crochet. Whether you’re making a coaster, a beanie, or a doily, maintaining a smooth, gap-free spiral or round is essential. Here’s where the slip stitch shines.
When working in continuous spirals (common in amigurumi), you don’t join with a slip stitch—instead, you keep crocheting in a spiral. But when you do want distinct rounds (like in a classic beanie or mandala), ending each round with a slip stitch into the first stitch creates a clean join.
Pro tip: To avoid that annoying “step” or jog where your round ends, try this technique:
- At the end of the round, slip stitch into the first stitch as usual.
- Then, chain 1 (or the required number for your next stitch), but don’t count it as a stitch.
- Begin your next round in the same stitch as the slip stitch. This minimizes visible offset.
Also, always check for twists before joining your foundation chain into a ring. A twisted foundation leads to a twisted project—no amount of slip stitching can fix that later! Lay your chain flat, ensure it’s not twisted, and then slip stitch the ends together.
Using stitch markers can help too. Place one in the first stitch of each round so you know exactly where to slip stitch at the end. This small habit prevents miscounting and keeps your tension consistent.
Remember: the slip stitch join isn’t just functional—it’s your secret weapon for polished, professional-looking circular projects.
Creating Seamless Joins and Invisible Seams
Beyond joining rounds, the slip stitch is a master of invisible assembly. If you’ve ever crocheted a cardigan in pieces or made a granny square blanket, you know that seaming can make or break the final look. Enter the invisible slip stitch seam.
This method, sometimes called the “mattress stitch of crochet,” involves slip stitching through the back loops only (BLO) of two pieces held together with right sides facing you. The result? A nearly undetectable seam that lies flat and doesn’t add bulk—perfect for garments or home decor items meant to drape or hang smoothly.
How to do it:
- Hold the two pieces together, aligning stitch for stitch.
- Insert your hook through the back loop of the first stitch on the front piece, then through the back loop of the corresponding stitch on the back piece.
- Yarn over and pull through all three loops (the two back loops + the working loop).
- Repeat across the seam.
This technique works beautifully for joining granny squares too. Instead of sewing with a yarn needle, use a slip stitch along the outer edges for a flexible, cohesive join that still allows the squares to move slightly—ideal for blankets that need to stay soft and cozy.
And don’t forget joining motifs as you go! Many modern patterns use slip stitches to connect pieces mid-round, eliminating the need for post-assembly altogether. It saves time, reduces finishing work, and ensures perfect alignment from the start.
Adding Texture and Design with Slip Stitch Patterns
Think slip stitches are too plain for pattern work? Think again. When used intentionally, they can create stunning textures, geometric designs, and even faux cables—all without increasing your stitch count or project bulk.
One popular technique is slip stitch ribbing. By working slip stitches in the back loop only (BLO) across a row, you create a stretchy, ribbed fabric similar to knitting. This is perfect for cuffs, waistbands, and necklines on garments where you want snug, flexible edges without adding thick borders.
Another creative use: mosaic crochet. In this colorwork style, you alternate rows of two colors, using slip stitches to “float” over the inactive color and create intricate tile-like patterns. The slip stitches anchor the design while keeping the wrong side tidy—no weaving in dozens of ends later!
Even in solid-color projects, strategic slip stitches can add visual interest. Try alternating rows of half double crochet with rows of slip stitches worked into the third loop (the “camel stitch” placement)—you’ll get subtle horizontal ridges that catch the light beautifully.
Designers also use slip stitches to shape fabric without decreases. Because they pull the work slightly tighter, a row of slip stitches can gently curve a flat piece—useful for creating gentle ruffles or shaping around curves in bags or home accessories.
The key? Contrast yarn or lighting. Slip stitch textures often reveal themselves best in natural light or with slightly variegated yarn, where shadows highlight the dimension.
Troubleshooting Common Slip Stitch Mistakes
Even experienced crocheters can run into slip stitch snags. The most common issues? Tight stitches, accidental increases, and miscounted rounds. But don’t worry—each has a simple fix.
Problem #1: Slip stitches too tight.
Because you pull through two loops at once, it’s easy to yank the yarn too hard, creating a stiff, puckered edge.
✅ Solution: Use a hook one size larger just for slip stitching, or consciously relax your tension. Think of the slip stitch as a “guide” rather than an anchor—gentle is better.
Problem #2: Adding extra stitches by accident.
When joining rounds, some crocheters slip stitch into the first stitch and chain 1, then start the next round in the next stitch—effectively skipping the join and creating a gap or misalignment.
✅ Solution: Always clarify your pattern’s instructions. If it says “join with sl st to first st, ch 1, hdc in same st,” follow it exactly. Mark your first stitch with a stitch marker to avoid confusion.
Problem #3: Invisible work that’s too invisible.
In slip stitch rows (like ribbing), it can be hard to see where to insert your hook in the next row.
✅ Solution: Use a contrasting yarn for your first practice swatch, or work under both loops instead of just the back loop until you build confidence.
And remember: if a slip stitch row looks “wrong,” it might just need blocking. Slip stitch fabric often relaxes and evens out beautifully after a light steam or wet block.
Practical Projects to Practice Your Slip Stitch Skills
Now that you understand the theory, it’s time to put your slip stitch to work! Here are a few beginner-friendly projects that highlight different techniques:
- Slip Stitch Headband
Work a foundation chain, then rows of BLO slip stitches to create a stretchy, ribbed band. Seam the ends with an invisible slip stitch join. Great for gifts! - Granny Square Blanket (Join-as-You-Go)
As you complete each round of your square, use slip stitches to connect it to adjacent squares. No sewing required—and you’ll master seamless joining in the process. - Minimalist Market Bag
Use slip stitches to create a dense, sturdy mesh fabric that’s perfect for carrying produce. The tight structure prevents small items from falling through. - Amigurumi with Seamless Details
Try attaching eyes, arms, or ears using slip stitches instead of sewing. It’s faster and holds up better to playtime.
As you work, pay attention to how the slip stitch behaves—its elasticity, its grip, its quiet strength. You’ll start to intuitively know when to reach for it over other stitches.
Conclusion
The slip stitch may be small, but its impact is enormous. From creating flawless joins to crafting subtle textures and invisible seams, this unassuming stitch is a cornerstone of expert-level crochet. It’s the difference between a project that looks “homemade” and one that looks handcrafted with intention and skill.
Throughout this article, we’ve explored how the slip stitch goes far beyond basic joining—it’s a tool for shaping, finishing, designing, and problem-solving. Whether you’re closing a round on a cozy beanie, assembling a heirloom blanket, or adding refined edges to a garment, the slip stitch is there, quietly doing its job with grace.
So next time you reach for your hook, don’t rush past the slip stitch. Take a moment to appreciate its versatility—and experiment with it in new ways. Try a slip stitch edging on your next scarf. Use it to join your holiday ornaments. See how it changes the drape of your fabric.
And now, we’d love to hear from you: What’s your favorite way to use the slip stitch? Have you discovered a clever trick or used it in an unexpected project? Share your thoughts in the comments below—your idea might inspire another crocheter to see this stitch in a whole new light!
Happy stitching! 🧶

Gabriela Ferreira is a passionate crochet and knitting enthusiast who finds inspiration in every skein of yarn she touches. With a love for color, texture, and handmade detail, she brings creativity and warmth to each project she creates. Gabriela believes that every stitch tells a story, and she enjoys sharing her craft with others who appreciate the beauty of fiber arts.


