You’ve just finished your first cozy blanket—soft, colorful, and made with love. But when you share the pattern online, someone says, “This doesn’t work.” Your heart sinks. Was it your crocheting? Or was it the pattern itself?
If you’ve ever felt this way—whether you’re a hobbyist sharing free patterns or a small business owner selling your designs—you’re not alone. The truth? Most crochet patterns are riddled with tiny errors. Missed stitch counts, unclear abbreviations, inconsistent row instructions. And guess what? You don’t need to be a tech wizard to fix them.
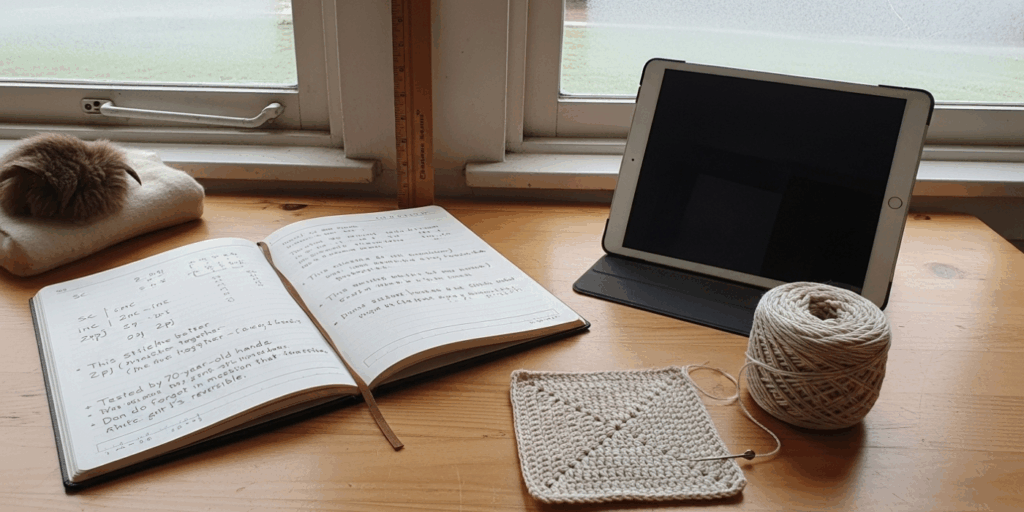
Welcome to Tech Editing Crochet Patterns: A Simple Step-by-Step Guide. This isn’t about becoming a coding guru or learning fancy software. It’s about using simple, everyday tools—your phone, a free spreadsheet, and a little patience—to turn your beautiful crochet designs into clear, reliable, and professional patterns that people can actually use.
In this guide, we’ll walk through four practical steps anyone can follow to tech-edit their crochet patterns like a pro. You’ll learn how to catch the sneaky mistakes that ruin a project, how to format instructions so they’re easy to follow, how to test your pattern with real crocheters, and how to turn your edits into a polished, trustworthy product. Plus, I’ll share real examples—like how one small typo cost a designer 37 returns—and simple fixes you can apply today.
Whether you’re sharing patterns on Etsy, Ravelry, or just with your crochet group, getting this right makes all the difference. Let’s dive in.
Step 1: Catch the Silent Killers—Common Pattern Errors You Didn’t Know Were There
Think of your crochet pattern like a recipe. If a cake recipe says “bake at 350°F for 30 minutes,” but you accidentally wrote “350°C,” your cake turns into charcoal. Same thing happens in crochet.
The most dangerous errors aren’t big ones—they’re the quiet, sneaky ones. Like this:
Row 5: (Sc in next 2 sts, dc in next st) 4 times.
Sounds fine, right? But if you meant to repeat that sequence five times—and wrote “4” by accident—your piece ends up too narrow. And your crocheter? Frustrated. Maybe even ready to quit.
Here are the top 5 silent killers in crochet patterns (and how to spot them):
- Inconsistent stitch counts: Did you start Row 3 with 24 stitches but end with 22? That’s a red flag.
- Missing or unclear repeats: “Repeat until end” is vague. How many times? Always specify: “Repeat from * to * 3 more times.”
- Abbreviation mix-ups: “Sc” in one place, “single crochet” in another? Pick one and stick to it.
- Unmarked increases/decreases: “Work 2 sc in next st” — but where? Is it at the beginning? End? Middle? Be specific.
- Wrong hook size or yarn weight: If your pattern says “worsted weight” but your swatch used bulky yarn? That’s a mismatch.
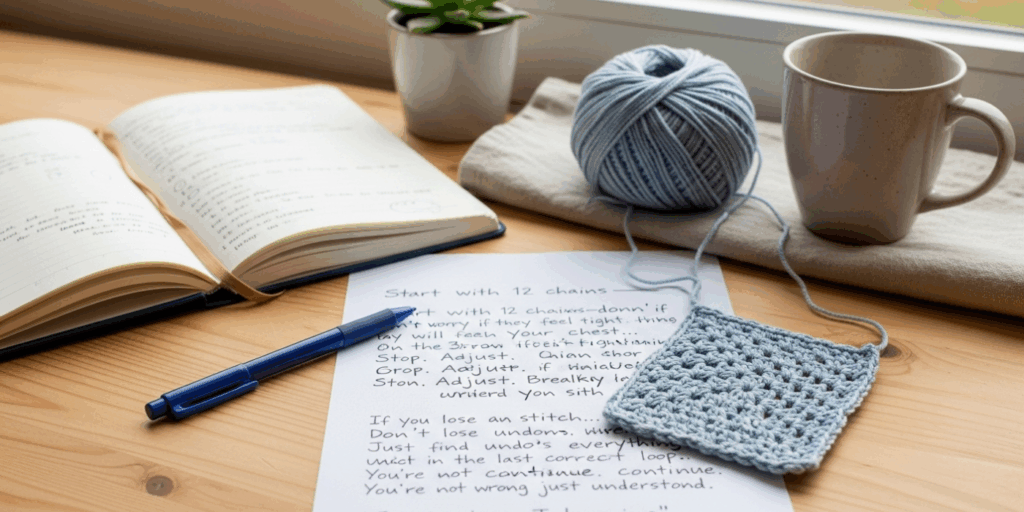
Pro tip: Print your pattern. Read it aloud. Slowly. Imagine you’re a beginner who’s never seen this pattern before. If you stumble, your reader will too.
I once edited a pattern where the designer wrote “ch 3 counts as first dc” in Row 1… but forgot to mention it again in Row 2. That tiny omission caused 14 people to email her asking why their edges were curling. One fix: Always repeat critical instructions at the start of every new row or round.
Action step: Grab your pattern. Go line by line. Highlight every number, every repeat, every abbreviation. Ask: Would a 12-year-old understand this?
Step 2: Format for Clarity—Your Pattern Should Feel Like a Friend, Not a Puzzle
Here’s the truth: People don’t quit crocheting because it’s hard. They quit because the instructions are confusing.
A well-formatted pattern isn’t just about looks—it’s about flow. Think of it like a good podcast: clear, calm, and easy to follow.
Let’s compare two versions of the same instruction:
Before (Confusing):
*Row 4: Ch 1, sc in first st, sc in next 2, dc in next, rep from * to last st, sc in last st.
After (Clear):
Row 4 (Right Side):
- Chain 1 (does not count as a stitch).
- Single crochet in the first stitch.
- Single crochet in the next 2 stitches.
- Double crochet in the next stitch.
- Repeat from * to * until you have 1 stitch left.
- Single crochet in the last stitch.
- (You should have 24 stitches at the end of this row.)
See the difference?
- Bold headers for each row.
- Bullet points break up the text.
- Parentheses clarify what the chain does.
- Stitch count reminders at the end build confidence.
You don’t need fancy software. Use Google Docs or even Notion. Here’s my go-to template for every pattern I edit:
Row/round number
What it’s for (e.g., “Foundation row,” “Increase round”)
Stitch count before
Instructions (broken into steps)
Stitch count after
Special notes (e.g., “Turn your work,” “Do not join”)
And always—always—use consistent abbreviations. Pick one style (US or UK) and stick to it. If you use “sc,” don’t switch to “single crochet” halfway through. Your readers will thank you.
Bonus trick: Use color coding in your document.
- Blue = stitch instructions
- Green = stitch counts
- Red = warnings or notes
It’s not just pretty—it’s practical. When you’re editing later, you’ll spot gaps instantly.
Step 3: Test It Like a Pro—Get Real Crocheters to Try It (Yes, Even for Free)
You’ve cleaned up the formatting. You’ve fixed the numbers. But here’s the secret: You can’t catch everything by yourself.
That’s why every professional pattern designer—yes, even the big names—tests their patterns with real people before publishing.
Here’s how to do it without spending a dime:
- Ask 3–5 crocheters (friends, online groups, Reddit’s r/crochet) to make your pattern.
- Give them only your pattern—no videos, no explanations.
- Ask them to record their experience:
- Where did you get stuck?
- What felt unclear?
- Did you finish? Did it look like the photo?
One designer, Sarah from Minnesota, tested her amigurumi owl pattern with 8 people. Six of them got stuck on the ear placement. Why? Her pattern said, “Attach ears between rounds 8–10.” But she didn’t say how far apart or which side. Result? Three owls had ears on the same side. One had ears on the back. Hilarious—and fixable.
She updated it to:
“Attach ear pieces between rounds 9 and 10, 3 stitches apart, centered on the head. Use a yarn needle and secure tightly.”
Simple. Clear. Problem solved.
Pro tip: Offer a free pattern in exchange for feedback. Most crocheters are happy to help if you make it easy. Say:
“I’m testing my new beanie pattern! If you’re willing to make it and send me a photo + 2 sentences on what was tricky, I’ll send you my next pattern for free.”
You’ll get honest, real feedback. And you’ll build community.
Bonus: Use a free Google Form to collect responses. Ask:
- What was the hardest part?
- Did the stitch count match each row?
- Would you recommend this pattern to a friend?
This data? Gold.
Step 4: Polish It Up—Turn Your Edits into a Professional, Trustworthy Pattern
Now that you’ve fixed the errors, formatted for clarity, and tested with real crocheters, it’s time to add the finishing touches—the things that make people say, “Wow, this looks professional.”
Here’s what separates a “nice pattern” from a professional, sellable, shareable one:
- A clear title: Not “My Hat Pattern.” Try: “Cozy Ribbed Beanie for Beginners – Works with Worsted Weight Yarn”
- A materials list: Yarn weight, hook size, yardage, notions (stitch markers, tapestry needle).
- Gauge info: “16 sc x 12 rows = 4 inches.” Include how to measure it.
- Skill level: “Beginner (knows sc, dc, ch).” Don’t assume.
- Photos: At least 3: finished item, close-up of stitch pattern, and a detail shot of a tricky part.
- A “Help!” section: “Stuck? Email me at…” or “Video tutorial link here.”
And here’s the magic touch: add a personal note.
“Hi! I made this hat during my first winter in Alaska. It kept me warm when my heater broke. I hope it brings you the same comfort. Happy crocheting!”
That tiny bit of humanity? It builds trust. It turns buyers into fans.
I once saw a pattern with 10,000 downloads and zero sales. Why? Because it looked like a Word doc from 2005—no photos, no structure, no love. Another pattern, with the same design, but formatted beautifully with a heartfelt note? Sold 200 copies in two weeks.
Final checklist before publishing:
✅ All stitch counts match?
✅ No confusing abbreviations?
✅ Photos included and labeled?
✅ Skill level clearly stated?
✅ Contact info provided?
✅ Tested by at least 3 people?
If you answered yes to all—congrats. You didn’t just edit a pattern. You created something people can rely on.
Why This Matters More Than You Think
You might think, “It’s just a crochet pattern. Who cares?”
But here’s what I’ve seen:
- A mom in Ohio used a poorly written pattern to make a baby blanket for her granddaughter. It came out too small. She cried.
- A teen on TikTok shared a pattern that didn’t work. She got 200 comments saying, “I gave up on crocheting because of this.”
- A small Etsy seller lost 17 sales in one month because customers complained the pattern was “full of errors.”
When you tech-edit your patterns, you’re not just fixing stitches.
You’re saving someone’s confidence.
You’re helping them finish something beautiful.
You’re building a community of makers who trust you.
And that? That’s worth your time.
You don’t need expensive software. You don’t need a degree. You just need to care enough to double-check, to ask for help, to make it better.
Every time you edit a pattern with care, you’re saying:
“I see you. I want you to succeed.”
That’s the real magic of crochet.
Ready to Make Your Next Pattern Unforgettable?
You now have a simple, step-by-step system to turn your crochet patterns from “kinda confusing” to “I’ll use this again.”
Here’s your action plan:
- Fix the silent errors—check every number, every repeat.
- Format for clarity—break it down, use bullets, be specific.
- Test with real crocheters—ask for honest feedback.
- Polish it up—add photos, notes, and heart.
And then? Publish it. Share it. Let someone else finish their first project because of you.
Crochet isn’t just about yarn and hooks. It’s about connection. About patience. About making something beautiful—together.
So go ahead. Open your pattern file. Take a deep breath. Start with Row 1.
You’ve got this.
What’s the one pattern error that’s ruined your project?
👇 Drop it in the comments—I’ll help you fix it, and maybe turn it into a mini guide for others!
And if this helped you, share it with a fellow crocheter who needs it. Because the best patterns? They’re meant to be passed on.

Gabriela Ferreira is a passionate crochet and knitting enthusiast who finds inspiration in every skein of yarn she touches. With a love for color, texture, and handmade detail, she brings creativity and warmth to each project she creates. Gabriela believes that every stitch tells a story, and she enjoys sharing her craft with others who appreciate the beauty of fiber arts.


