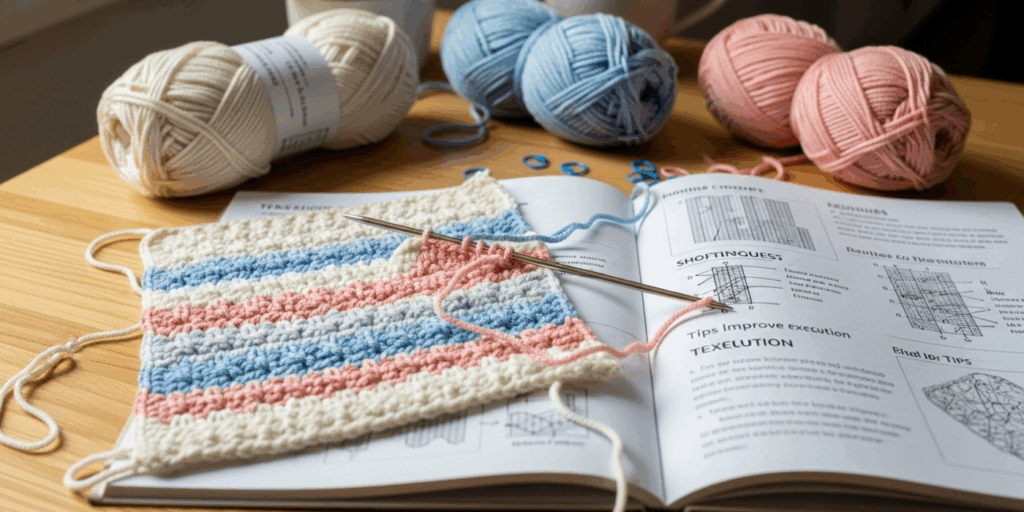
Imagine holding a piece of fabric that looks like it was woven by hand—soft, dense, and beautifully textured—but you didn’t use a loom. You didn’t knit. You didn’t even use two needles. You used just one hook… and a technique that’s been quietly transforming crochet for over 150 years.
Welcome to the world of Tunisian crochet.
If you’ve ever admired the rich, almost-knitted look of a blanket or scarf and wondered, “How did they make that?”—you’re not alone. Tunisian crochet is often called “the hidden gem” of the fiber arts. It’s not as flashy as lacework or as trendy as amigurumi, but it’s incredibly versatile, surprisingly easy to learn, and perfect for creating cozy, durable projects that feel luxurious without the price tag.
In this guide, we’re going beyond the basics. Whether you’ve dabbled in Tunisian crochet before—or just heard the name and thought, “That looks complicated…”—you’ll walk away with practical, real-world tips to level up your skills fast. No jargon. No overwhelm. Just clear, friendly advice you can start using today.
We’ll cover everything from choosing the right hook (yes, it’s different!) to mastering tension, fixing common mistakes, and even how to blend Tunisian stitches with traditional crochet for stunning results. By the end, you’ll not only feel more confident—but you’ll also see your projects take on a whole new level of polish and professionalism.
Let’s dive in.
Why Tunisian Crochet Is Your Secret Weapon (And Why Most Crocheters Underuse It)
Here’s the truth: most crocheters stick to the same handful of stitches—single crochet, double crochet, maybe a shell or popcorn stitch—and call it a day. And there’s nothing wrong with that! But if you’ve ever felt like your projects look… flat? Or lack that something that makes them feel handmade in a high-end boutique?
Tunisian crochet is your answer.
Unlike traditional crochet, where you complete each stitch before moving on, Tunisian crochet works in two passes: a forward pass (picking up loops) and a return pass (working them off). This creates a dense, fabric-like texture that’s ideal for blankets, bags, sweaters, and even home décor.
Think of it like this: traditional crochet is like painting with broad strokes. Tunisian crochet? It’s like weaving a tapestry—with a hook.
And here’s the kicker: it’s faster than knitting for many projects. A Tunisian simple stitch blanket can be completed in half the time of a knitted one, with less bulk and more drape. Plus, it’s easier on the wrists for people with arthritis or repetitive strain—because you’re not constantly turning your work.
Yet, so many crocheters skip it because they assume it’s “too hard” or “only for experts.” Spoiler: it’s not.
In fact, a 2023 survey by the Craft Yarn Council found that 68% of crocheters who tried Tunisian stitch for the first time said they wished they’d started sooner. Why? Because once you get past the initial learning curve, it becomes almost meditative. The rhythm of the forward and return passes? It’s like a calming mantra.
And the best part? Once you master the basics, you unlock a whole new world of textures—Tunisian knit stitch, Tunisian purl stitch, Tunisian lace, even Tunisian crochet cables. You’re no longer limited to circles and squares. You can create ribbing, cables, and even faux-knit patterns—all with one hook.
So if you’ve been stuck in a creative rut, or your projects feel a little too “samey,” give Tunisian crochet a shot. It’s not just a technique—it’s a game-changer.
The Right Hook Makes All the Difference (Here’s How to Pick Yours)

Let’s be real: if you’ve ever tried Tunisian crochet with a regular crochet hook and ended up with a warped, uneven project—you’re not broken. You just used the wrong tool.
Tunisian crochet isn’t just different from traditional crochet—it demands a different hook.
Standard hooks are short and compact. Tunisian hooks? They’re longer. Think of them like a knitting needle crossed with a crochet hook. Why? Because you’re holding dozens of loops on the hook at once during the forward pass. A regular hook can’t handle that weight. Your stitches will sag, your tension will go haywire, and you’ll end up frustrated.
The ideal Tunisian hook has:
- A long shaft (at least 10–14 inches for blankets; shorter for scarves)
- A stopper at the end (to keep loops from slipping off)
- A smooth, ergonomic handle (so your hand doesn’t cramp after 30 minutes)
Some popular options? The Furls Odyssey Tunisian Hook (my personal favorite for comfort), the Clover Takumi (great for beginners), or even a simple metal Tunisian hook from Lion Brand if you’re on a budget.
Pro tip: If you don’t want to buy a full Tunisian hook yet, try a cable hook—a regular hook attached to a flexible cable. It’s affordable and works wonders for smaller projects.
And here’s something most tutorials skip: hook size matters differently in Tunisian crochet.
Because you’re holding so many loops, you usually need a hook one to two sizes larger than what you’d use for traditional crochet with the same yarn. For example: if you normally use a 5mm hook for worsted weight yarn, try a 6mm or even 6.5mm Tunisian hook. Your fabric will be looser, more drapey, and way more pleasant to work with.
I learned this the hard way. My first Tunisian blanket? It was stiff, heavy, and felt like cardboard. I switched to a larger hook, and suddenly, it looked like something you’d find in a luxury home goods store.
Don’t skip this step. Your hands—and your finished project—will thank you.
Mastering Tension: The #1 Mistake (And How to Fix It in 5 Minutes)
Let me tell you about Maria. She’s a retired teacher from Ohio who took up Tunisian crochet after her granddaughter asked for a blanket. She loved it… until she couldn’t get the edges straight. Her rows looked like waves. She thought she was “just bad at it.”
Turns out? She wasn’t bad. She was just holding her yarn too tightly.
Tension is the silent killer of Tunisian crochet.
Because you’re holding multiple loops on your hook, tight tension causes your fabric to curl, your stitches to bunch, and your edges to pucker. It’s the #1 reason people give up on Tunisian crochet after one project.
Here’s the fix: Relax your grip. Seriously.
Think of your yarn like a shy cat. If you grab it too hard, it freezes. But if you let it flow gently, it moves beautifully.
Try this simple exercise:
- Hold your hook normally.
- Wrap the yarn around your pinky, over your index finger, and let it rest lightly on your middle finger (the standard yarn hold).
- Now, take a deep breath. Let go. Not completely—just soften your fingers.
- Work a row of Tunisian simple stitch. Focus on letting the yarn slide through your fingers, not drag.
Do this for 10 minutes. Then compare your tension to your previous row.
Chances are? Your fabric will look smoother, your edges will straighten out, and you’ll feel like you’ve unlocked a secret level.
Another trick? Use a larger hook (as mentioned above). It gives your loops more room to breathe.
And here’s a pro tip from Tunisian crochet masters: block your work early. After your first row, lay it flat, pin it out gently, and lightly steam it (or spritz with water and let it dry). This helps your fabric “remember” its shape—and prevents curling later.
I used to think blocking was just for lace shawls. Nope. Tunisian fabric loves to be blocked. It’s like giving your project a spa day.
Once you get tension under control, your projects go from “cute” to “wow.” And that’s the kind of difference that makes people ask, “Did you buy that?”
Beyond the Basics: Unlocking 3 Stunning Tunisian Stitches (That Look Like Knitting)
You’ve mastered the Tunisian simple stitch. Great! But now what?
Here’s the exciting part: Tunisian crochet isn’t just one stitch. It’s a family of stitches that can mimic knitting, lace, cables, and even brioche—without ever needing a second needle.
Let’s explore three game-changing stitches you can learn this week:
1. Tunisian Knit Stitch (TKS)
This looks like stockinette stitch in knitting. It’s smooth on one side, with tiny ridges on the back. Perfect for sweaters, scarves, and baby blankets.
How to do it: On the forward pass, insert your hook into the front vertical bar (not the top loop) of each stitch. On the return pass, yarn over and pull through two loops as usual.
Result? A fabric so soft and stretchy, you’ll swear it’s wool-knit.
2. Tunisian Purl Stitch (TPS)
This creates a bumpy, textured surface—like garter stitch or ribbing. Fantastic for cuffs, collars, or adding visual interest to a simple blanket.
How to do it: On the forward pass, bring the yarn in front of the hook before inserting it into the vertical bar. Then yarn over and pull through.
Fun fact: This stitch is often used in “Tunisian ribbing” for hats and mittens.
3. Tunisian Lace Stitch
Yes, you can make lace with Tunisian crochet. And it’s gorgeous.
How to do it: Work chains and skips in a pattern—like skipping a stitch every few, then working into the next. Combine with the simple stitch for openwork that feels airy and elegant.
Perfect for: Lightweight shawls, curtains, or summer wraps.
These aren’t just “advanced” stitches—they’re accessible. Once you understand the forward/return pass structure, switching between them is like changing the flavor of your coffee. Easy. Fun. Delicious.
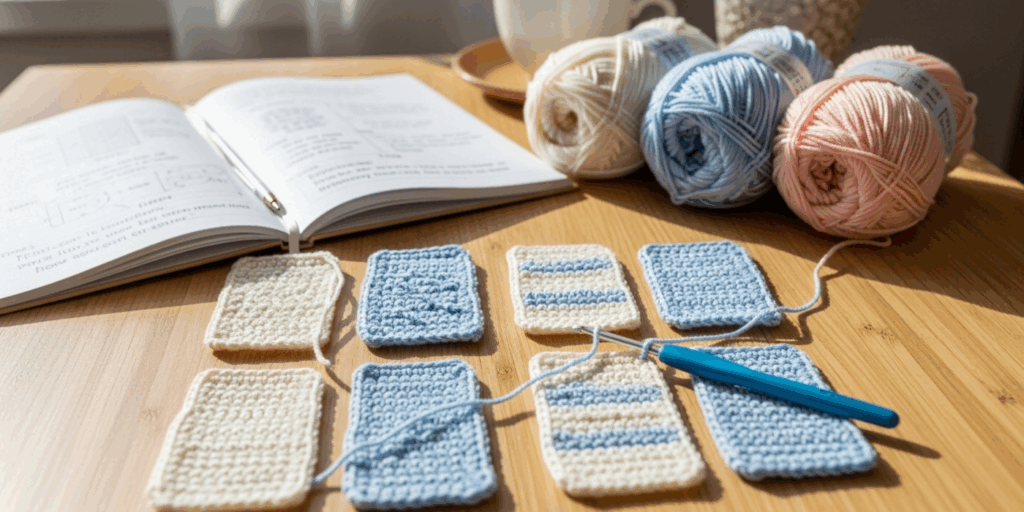
Try this: Make a small swatch using all three stitches in stripes. Just 10 rows of each. Then step back. You’ll see how dramatically the texture changes—without changing your skill level.
You’re not just learning stitches. You’re learning how to speak in texture.
Combining Tunisian & Traditional Crochet: The Creative Power Move
Here’s where things get really fun.
What if you could combine the best of both worlds?
Imagine a blanket where the body is made of smooth Tunisian knit stitch… but the border? A traditional scalloped edge. Or a bag with Tunisian body panels and crocheted handles. Or a hat with Tunisian ribbing on the brim and traditional single crochet flowers on top.
This is where true artistry begins.
Many crocheters think you have to stick to one technique per project. But the most stunning pieces? They blend.
Here’s a simple way to start:
- Use Tunisian for the main body (it’s denser, warmer, more structured).
- Use traditional crochet for edging, buttons, or embellishments (it’s more flexible and decorative).
You can even switch techniques mid-row. For example: work 3 Tunisian simple stitches, then 1 traditional double crochet. It creates a subtle, rhythmic texture that catches the eye.
I once made a pillow cover with Tunisian knit on the front and traditional granny squares on the back. My sister thought I’d bought it online. I told her I made it in two afternoons. She didn’t believe me.
The beauty? You don’t need to be an expert. Just curious.
Try this project: Take a simple Tunisian scarf. On the last row, switch to traditional single crochet for the fringe. Or add a row of popcorn stitches along one edge. It takes 10 minutes—and transforms your work from “nice” to “showstopper.”
The best part? No one will know you combined techniques. They’ll just think you’re really good.
And you are.
Avoiding Common Mistakes: What No One Tells You (But Should)
Let’s talk about the quiet frustrations.
You’re working on a beautiful Tunisian blanket. You’ve got the tension right. You’ve chosen the perfect hook. But… the edges are curling. The rows are uneven. Your yarn keeps tangling.
Here are the three hidden mistakes most tutorials ignore:
1. Not counting your stitches
In Tunisian crochet, you’re holding a lot of loops. It’s easy to accidentally add or drop one. Always count your loops at the end of the forward pass. If you have 1 extra or 1 missing? Fix it now. Don’t wait.
2. Working too fast
Tunisian crochet is slow by nature. That’s part of its charm. Rushing leads to twisted loops and uneven tension. Slow down. Breathe. Enjoy the rhythm.
3. Ignoring the “chain 1” at the beginning
Many patterns say “chain 1” at the start of a row. That’s not decorative—it’s structural. Skipping it causes your edge to slant. Always chain 1 (unless the pattern says otherwise), and work into the first vertical bar, not the chain.
Bonus tip: Use stitch markers. Clip one every 10 stitches on your hook. It helps you spot mistakes early.
And here’s a life hack: Keep a notebook. Jot down what hook size you used, what yarn, what tension felt right, and how many rows you did. You’ll thank yourself when you start your next project.
You don’t need perfection. You need awareness.
Final Thought: Tunisian Crochet Isn’t Just About Projects—It’s About Presence
I’ll leave you with this.
Tunisian crochet isn’t just a technique. It’s a practice.
In a world that rushes—where we scroll, swipe, and multitask—it’s rare to find something that asks you to slow down, breathe, and focus on one loop at a time.
Every forward pass is a moment of attention.
Every return pass is a release.
It’s meditation with yarn.
I’ve seen people who struggled with anxiety find calm in Tunisian crochet. I’ve seen grandmas make blankets for their grandchildren that became heirlooms. I’ve seen teens learn patience through rows of loops.
You’re not just making a scarf. You’re weaving peace into your days.
So whether you’re picking up your hook for the 10th time or the 1st—this is your invitation.
Try one new stitch this week.
Block your next swatch.
Switch to a longer hook.
You don’t need to be perfect.
You just need to begin.
And if you do? I’d love to hear what you make.
What’s the first Tunisian project you’re going to try? Share it in the comments—I’ll reply to every one.
And if this guide helped you—even just a little—please share it with a friend who loves to create. Because the world needs more handmade beauty. And you? You’re the one who can help make it.

Gabriela Ferreira is a passionate crochet and knitting enthusiast who finds inspiration in every skein of yarn she touches. With a love for color, texture, and handmade detail, she brings creativity and warmth to each project she creates. Gabriela believes that every stitch tells a story, and she enjoys sharing her craft with others who appreciate the beauty of fiber arts.


